Pages

Wednesday, July 27, 2011

Make a Boomerang or Rabbit Stick

Primitive hunting cultures took the idea of the throwing stick and made improvements to it that turned it into a more effective hunting tool. We call the Australian version a boomerang and the Native American version a rabbit stick. They are both basically the same weapon. By the way, the Australian hunting boomerang does not return when thrown. A stick that flies in a circle would be awfully hard to hunt with.

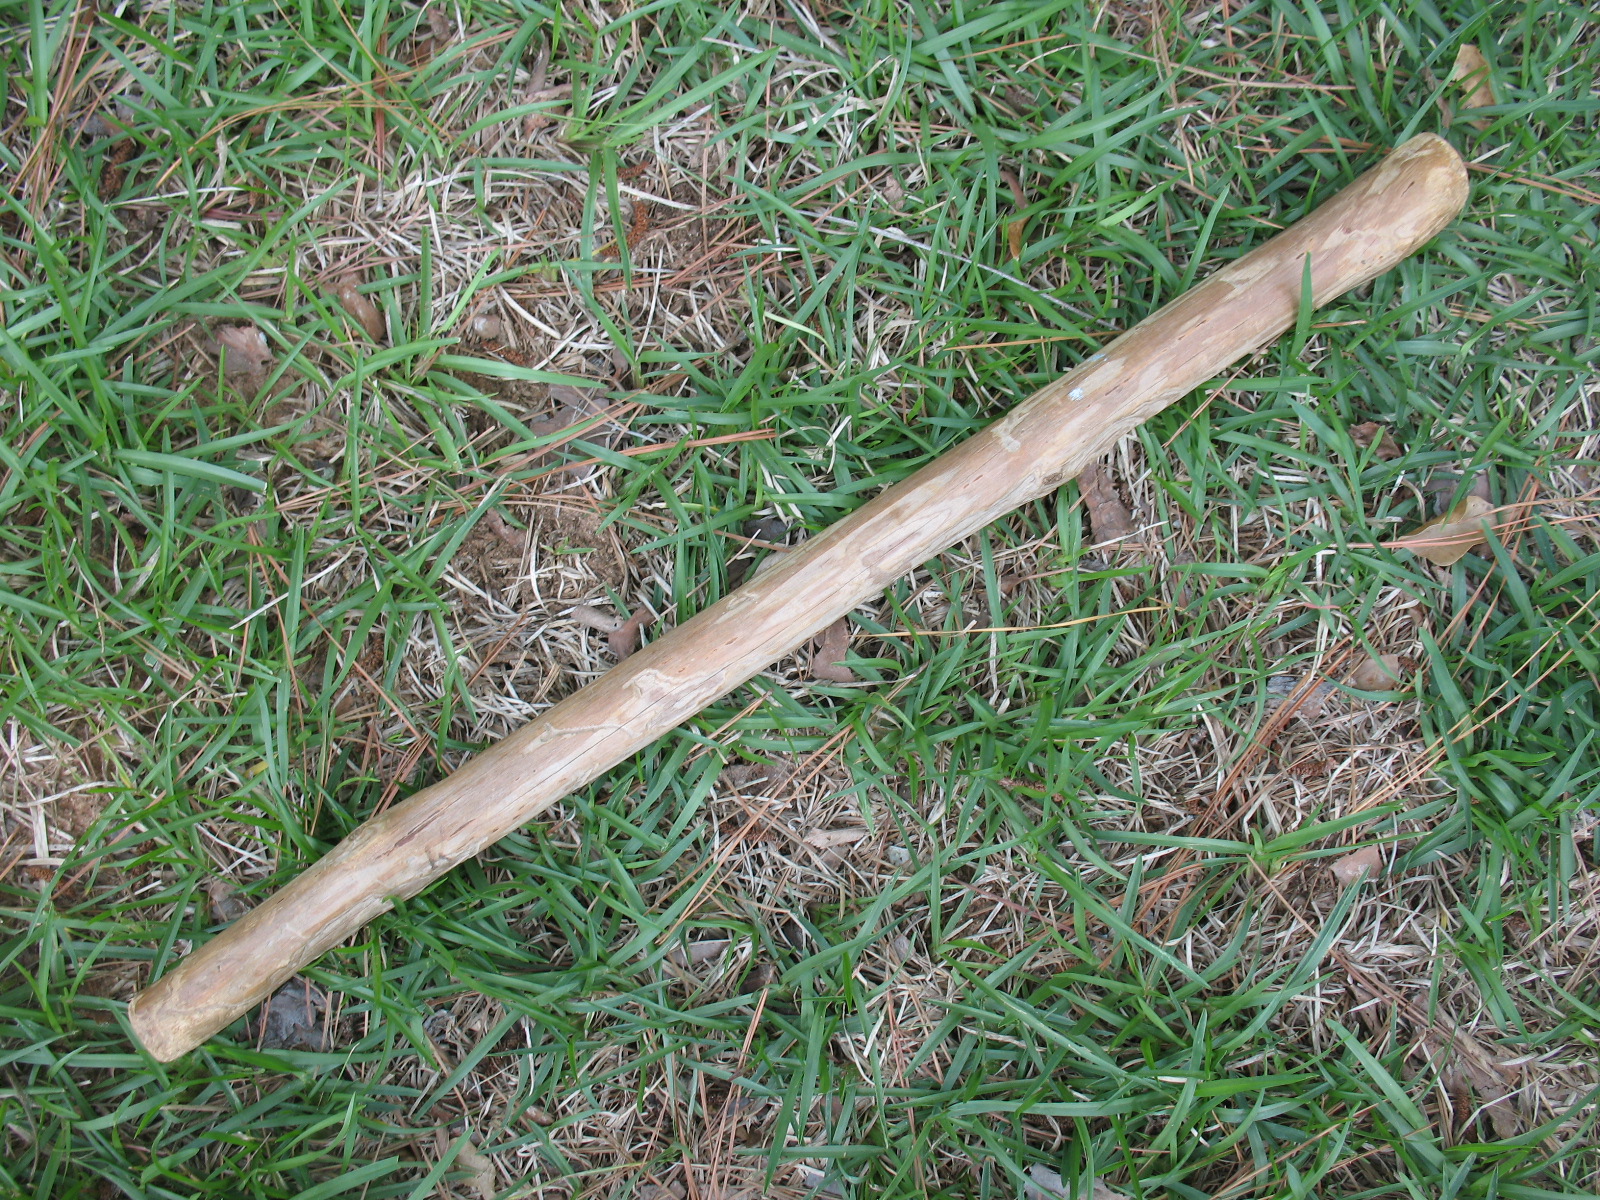
To start off making a boomerang you will need to do a little searching for just the right piece of wood. You need to find a tree limb that is about three inches in diameter and has a nice natural curve in it. It is best to use hardwood, and it needs to be fairly knot free. When you have located a good limb, cut about a three foot section of it with the curve centered as nearly as possible. You won't use the whole three feet for your boomerang; but the ends may split a little when drying, and it doesn't hurt to have a little extra wood to work with. Put your limb up in a warm, dry place and let it season for a few weeks.

When the wood is dry it is time to go to work. Unless you are willing to do a lot of whittling, it is nice to have an axe to get you started on roughing out a boomerang. Rough out your boomerang by thinning down the top and bottom of the limb to a thickness of about one inch. Leave the blade of the boomerang the full width of the limb. When you have finished with this process you should have what amounts to a one inch thick by three inch wide board with a curve in the middle.

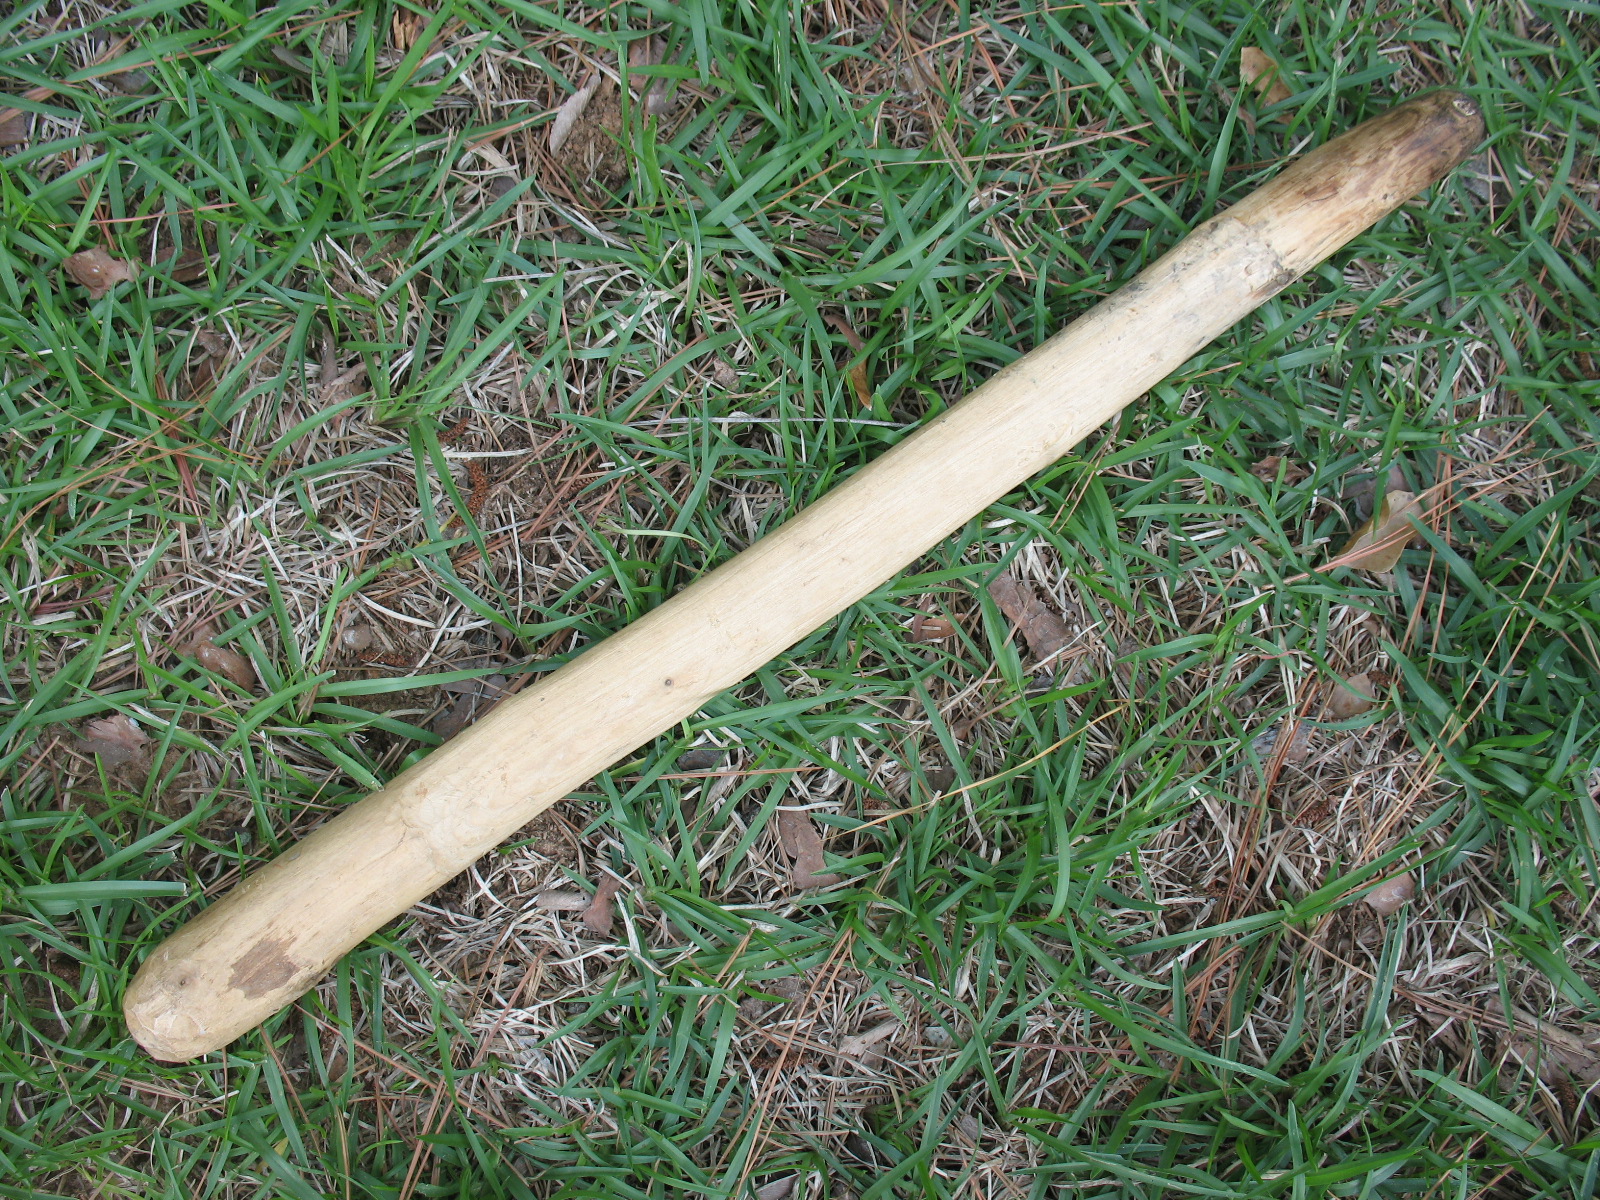
Now you can take your knife and finish out the final shape of the boomerang. One end needs to be narrowed down and rounded off to form a handle. The length of the blade should be left one inch thick in the middle, and tapered down to a rounded edge on each side. Don't make the edges too thin or they will be damaged when the boomerang smacks into a rock or tree.


A little scrapping with the edge of your knife will smooth out the finish and make it look nice. I like to rub my boomerang down with some grease or vegetable oil to give it a nice finish and help protect the wood.

Saturday, July 23, 2011

Survival Weapons - The Throwing Stick

Probably one of the earliest weapons used by man is the stick. It worked to supply food for our ancestors and it will still work today; because while we have gotten smarter and developed better technology, rabbits are still pretty much the same. The old man that taught me about surviving in the forest lived through quiet a few self-imposed survival situations. He once went a year living by nothing but hunting, fishing, and foraging wild plants. Anyway, he told me that whenever he took off on one of his survival outings, the very first thing that he always did was to pick up a stick. He could use the stick for hunting, digging, pushing briars out of the way, knocking nuts or nut cones out of trees, hammering on things, and a dozen other different uses.

There are very few hard and fast requirements for a throwing stick. It needs to be fairly straight, it needs to be good solid wood, it needs to be about the diameter of your wrist, and it needs to be about as long as your arm. You could hunt animals by throwing a rock at them, but a two inch rock has a very narrow killing zone. If you miss by two inches, it's no dinner tonight. With a twenty-six inch long stick, you can miss by twenty-two inches and still bag your target. Pictured below: Throwing stick.

Your quarry may be a rabbit, a squirrel, a possom , a coon, a rat, or a bird. Any small game is susceptible to being killed or stunned by a thrown stick. I have even heard, but never verified, that deer can be taken with a throwing stick. It seems that this would take either a direct blow to the head, or a crippling blow to the leg that would allow you to run in and finish the animal off. Anyway, I don't plan to go deer hunting with a stick unless I have to.

The old man taught me that if an animal is on the ground, like a rabbit, you want to throw the stick side-arm so that it skims across the top of the ground. If the animal is on a tree trunk, you want to throw the stick overhand so that it spins parallel to the tree trunk. This will give you the widest possible killing zone in either situation.

He also taught me that when you are stalking up on a target you want to already have your arm cocked back and ready to throw with one swift, clean motion. If you draw your arm back to throw, most critters will see the motion and be long gone before you can bring your arm back forward.

If you have a knife and a little time, you can improve your throwing stick by carving the middle part out flat, kind of like an airplane wing. This will help the stick glide a little farther before it drops to the ground. Pictured below: Three views of the improved throwing stick.


Empty two-liter plastic bottles make a great practice target with the throwing stick. Practice throwing at different distances and angles and before long you will be good enough to bag dinner.

Monday, July 18, 2011

Edible Wild Plant - Prickly Pear Fruit

DISCLAIMER: Don't believe anything I or any body else tells you about edible wild plants. Don't eat edible wild plants based on what you see in a book or on the inter-net. Get a qualified instructor to show you the plants, and don't eat them until the instructor shows you how to prepare them, and then eats them him or herself. Be aware that you may be allergic to a plant that someone else can eat without harm. Be sure that any plants that you gather have not been sprayed with pesticides or herbicides.

While visiting my daughter out north of Austin, I took a little walk out back and came across a great summer edible; Prickly Pear cactus. In the spring you can harvest the pads of the prickly pear and after removing the spines, you can peal the pads, slice then, and eat them. You can eat the pads raw, or you can dredge them in corn meal and fry them. The fried pads taste kind of like fried okra. Pictured below: Prickly Pear Cactus.

As the summer wears on the prickly pear develops fruits on it. At first the fruits are green, but as they ripen they turn red. These ripe fruits have a sweet, tangy, citrus taste. Pictured below: top, green fruits; bottom, ripe fruit.


To harvest the fruits, cut them off of the plants with a knife. Be careful of the spines on the pads and the stickers on the fruits. You can remove the stickers from the fruits by wiping the fruits down thoroughly with a cloth. Pictured below: Harvested fruit on knife point.

Once the stickers have been removed you can split the fruits in half. The fruits have a little meat to them and a large gooey mass of seeds in the middle. Pictured below: Split fruit.


Use your fingers to bend the fruit halves open and munch out the inside with your teeth. Don’t skip the seeds. Just suck the sweet goo from around them and spit the seeds out. Pictured below: top, Fruit opened and ready to eat; bottom, Munching on Prickly Pear fruit.

Sunday, July 10, 2011

Hand Tools for Your Shop

I have a pretty good selection of power tools, but what good are they if there is no power? In the event of a long term meltdown of the power grid I like to keep a good selection of hand tools. Hand tools, of course, won’t do the job as fast as power tools; but they will do the job. After all, houses were built, furniture was built, and wagons were built long before the invention of power tools.

Most of my hand tools are old. I have picked them up at garage sales and junk shops, and some I have inherited from my dad, granddad, and uncles. Some of the tools probably date back to the late 1800’s and early 1900’s, but they still work fine. Pictured below are a few of my hand tools that I use for wood working. I also have tools for metal working and auto repair.

Here are a few of my saws and a miter-box. The miter box is used in conjunction with a hand saw to cut angles (like a 45 degree angle) on boards.


Draw knives and hatchets can be used to rough shape wood and are also useful for bow making.

Wood rasps are also used to shape wood.

Old time braces and hand drills work almost as fast as a power drill. Sometimes if I’m just drilling a few holes I will grab one of my old hand drills rather than go to the trouble of digging out a power drill and rigging an extension cord. Once my son and I were hanging a gate and it was far away from an electrical outlet. I showed him where we needed some holes drilled in the gate post and handed him an old time brace and bit. He looked at me like I was nuts, so I showed him how the brace and bit worked. He drilled the holes in a few minutes and was amazed at how easy it was. Pictured below: A brace, a hand drill, and several different kinds of drill bits.

A good collection of different types of hammers is very useful.

Wood chisels can be used for shaping wood, and cutting grooves and mortises.

These are just a few of the many different types of clamps that I have to hold things together while drilling, gluing,or nailing.

If you are interested in long-term preparedness, I would highly advise you to start collecting hand tools to use on both wood and metal. It doesn’t have to cost you a fortune if you will keep your eyes open for good deals on used tools.

Wednesday, July 6, 2011

Using the Atlatl and Dart

Sorry to be a little long between posts. I've been out of town for a few days. Now back to the atlatl and dart.

Using the atlatl and dart is easy. Using it well is hard. Much practice is required in order to be accurate with the atlatl.

After you have inserted your wrist through the loop on the atlatl, grip the atlatl firmly by wrapping the thumb and all four fingers around the handle.

Next take the dart in your other hand and fit the projecting point of the atlatl into the socket on the back of the dart.


Now keeping your last three fingers wrapped around the handle of the atlatl, raise your thumb and index finger and use them to pinch a grip on the dart shaft.

You are now ready to throw the dart. Stand with your shoulders square to the target and you left foot forward. Bend your left knee moving you weight over it. Extend your right leg back. Bring your right hand back, maintaining your grip on the atlatl and dart. Sweep the right hand forward trying to keep it parallel with the ground. As you come forward open your thumb and index finger but be sure and keep your grip on the atlatl with your other three fingers. Continue sweeping your right hand forward and follow through as the dart leaves the atlatl.

Did you hit the target? Me either. It takes a lot of practice.