Pages

Monday, December 19, 2011

Making Rawhide

Raw hide is the dried, untanned hide of an animal. It is light brown in color. It will bend but it is stiff.
Raw hide can be made with the hair still on the hide or with the hair removed from the hide. Rawhide has many uses. It can be used to bind things together. It can be used to make containers, knife sheaths, arrow quivers, bullet pouches, and many other items.

There are many different ways to go through the process of turning an animal hide into rawhide. None of them is any better or worse than the others. Many people say that a hide must be fleshed as soon as you get it to avoid fat burning the hide. Immediate fleshing is the ideal, but modern schedules sometimes make this very difficult to do. For example: the hide that I am using in this article was given to me on a Monday at work. A friend of mine had been deer hunting over the weekend, and he knew that I would want the hide, so he saved it and brought it to work. Now at this time of year it is getting dark by the time I get home, and frankly, after a long day at work I’m not looking all that forward to fleshing a deer hide when I get home. This is work best left for the weekend, but if I don’t want the hide to spoil in the mean time I need to either freeze it, or I can use the method below to go ahead and start the process and still keep the hide from spoiling.

To make raw hide you first need a hide. To make your first rawhide I would recommend that you use a white tail deer hide. A white tail hide is big enough to do things with, but it is small enough that it won’t wear you out to prepare it. When a hide is first removed from an animal and nothing has been done to it, it is referred to as a “green hide.” Pictured below: Green whitetail deer hide.

So take your green deer hide and take a look at it. You will probably see a lot of meat scraps and membrane on the flesh side of the hide. Normally you would flesh the hide immediately, but if you don’t have time to flesh the hide immediately you can use this method.

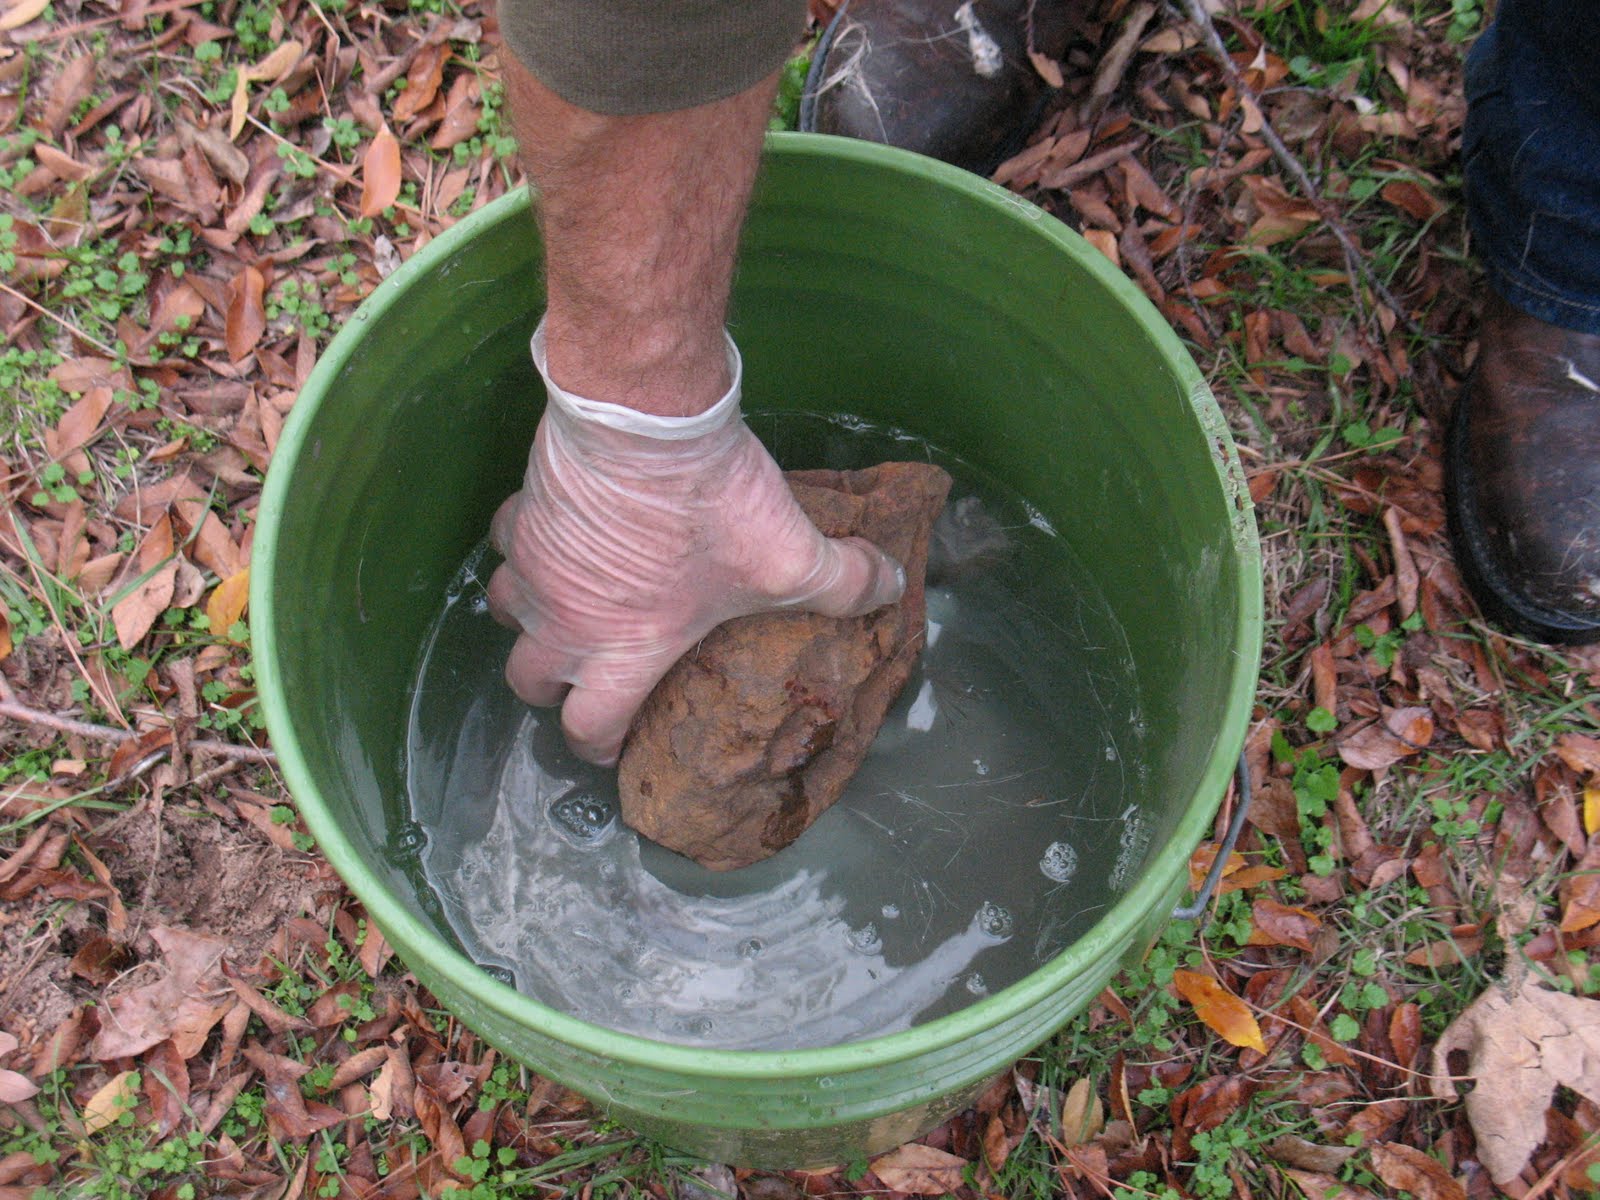
First take a five gallon plastic bucket and put one or two coffee cans full of ashes in it. It is best to use a combination of hardwood and softwood ashes. Straight hardwood ashes will make your soaking solution too alkaline and may damage the hide. About half-and half, hardwood and softwood will do the job without damaging the hide. Pictured below: Removing ashes from my wood stove and putting them in a plastic bucket.

Now fill the bucket about two-thirds full of water and stir the ashes up. Drop your un-fleshed hide into the bucket, stir it around a little, and set a rock on top of the hide to hold it down under the water. Pictured below: top, Filling bucket with water; middle, Dropping un-fleshed hide into the bucket; bottom, weighting the hide down with a couple of rocks.


Normally if you didn’t flesh the hide right away the fat in the meat would begin to decompose and would produce acids that would begin to dissolve the hide. But the ashes in the soaking solution contain lye which counteracts the acid in the decomposing meat and prevents the hide from becoming fat burned.

Leave the hide in the soaking solution for five days, stirring it around a little each day, and then check to see if the hide is ready by pulling on the hair. If the hair pulls easily out of the hide, you’re ready to go on to the next step. If the hair doesn’t come out, leave the hide in the soaking solution and check it again in a couple of days. The temperature has a lot to do with how long the hide needs to stay in the solution. In cold weather I have left hide in the bucket for two weeks before they were ready. In hot weather it may only take three days.

When the hair slips easily from the hide, you can remove the hide from the solution, rinse it of with a water hose, and put it on your fleshing beam. When I used to do a lot of hides I had a fleshing beam that was made of a log that was leaned up on top of a stump. I don’t do so many hides any more so I just use a six inch wide sawhorse to do my fleshing on.

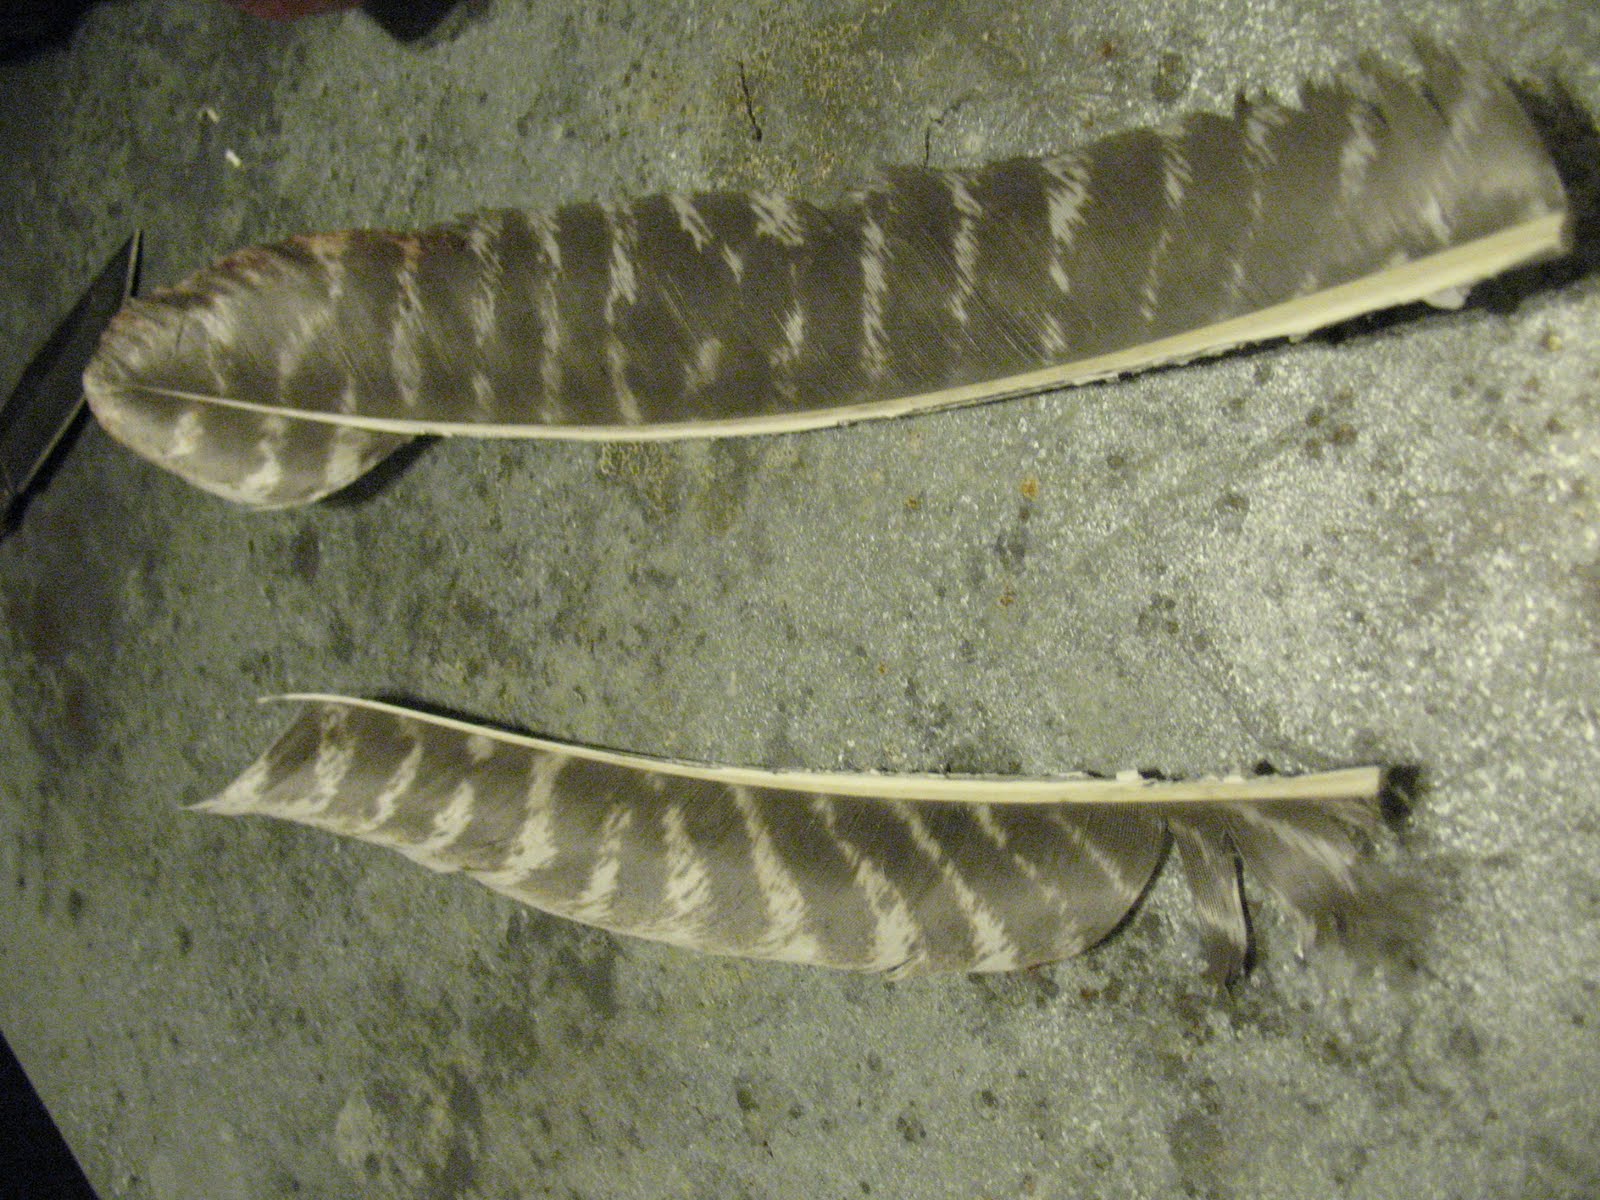
To flesh the hide you can use a dull knife, or a dull draw knife, but I have found that the best tool for the job is a bone hide flesher of the kind that was invented at least 20,000 years ago. Pictured below: A deer bone hide flesher.


I say that it was invented at least 20,000 years ago because a bone hide flesher is the oldest carbon dated artifact that has ever been found on the North American continent. They were probably used for hundreds of thousands of years in other parts of the world. Whatever you decide to use, you need to remove all of the flesh and as much membrane as possible from the flesh side of the hide. Pictured below: Using the fleshing tool to remove meat and membrane.

When you have the hide fleshed you will need to remove the hair from the outside of the hide, so flip the hide over and start scraping hair. It should come out pretty easily. Pictured below: Hide that has been fleshed and de-haired.

After all the hair has been removed rinse the hide again and place it in a bucket of clean water to soak over night. Adding a little baking soda will help take any bad smells out of the hide and will neutralize any remaining alkali. The next day pour off the dirty water from the bucket, refill the bucket with clean water, and soak the hide for another day. Pictured below: top, Adding soda to a bucket of clean water; middle, Placing hide in the bucket; bottom, weighting the hide down with a rock.


Now all that’s left is to let the hide dry out. Some people cut little holes in the edge of the hide and lace the hide into a frame to dry. I find this to be a total pain. I prefer to nail the hide up on the outside of my shop and let it dry. I use small finish nails, about an inch-and-a-half long and place them about six inches apart all around the outside edge of the hide. Don’t try and stretch the hide too much when you nail (or lace) it up. The hide will shrink quiet a bit as it dries, and if it has been stretched too tight it will tear out at the nails/laces. Also, if it is stretched too tight it will dry very thin. Pictured below: top, Wet hide nailed up on the wall of my shop; bottom, hide after it has dried for a few days.


When the hide is thoroughly dried you can take it down off of the wall, trim the rough edges off, roll it up, and put some tape or a rubber band around it. Store your rawhide where it will be protected from moisture, mice, and the family dog. If the rawhide is placed in water for a couple of hours it will soften again and stretch out. When it dries it will, once again, become hard and stiff. Pictured below: top, Dried and trimmed hide; bottom, hide rolled up and taped for storage.


The pictures below illustrate some of the uses of rawhide. At the top is a bowstring made of rawhide. Picture number two shows how rawhide is used to bind on an axe head. The next picture is of a knife sheath made from elk rawhide. The bottom picture shows a rawhide bullet bottle.


Wednesday, December 14, 2011

Make Soap from Yucca Leaves

Many people know that you can make soap from yucca root, but digging up a yucca plant is a lot of work and it kills the plant. The active ingredient in yucca soap is saponin. Saponin is the an anti-bacterial, anti-fungal chemical that foams when it is shaken up. High concentrations of saponin are found in yucca root, but saponin is also found in the leaves of the yucca.

Here's how to make yucca soap and avoid killing the yucca plant:

Cut a handful of yucca leaves.

Use your knife to scrape the waxy, green skin off of the leaves.


Place the scrapings in a sealable container with some water.

Shake the container vigorously for several minutes.

Pour the liquid off into another container and discard the scrapings.


The liquid can be used as hand soap, shampoo, disinfectant wash, laundry soap, or dishwashing soap.

Friday, December 9, 2011

A Quickie Needle and Thread from Yucca

If you need to make a quick sewing repair to clothing or camp equipment, the yucca plant provides a needle with thread already attached. Pictured below: Yucca plant

Locate a yucca plant and cut a long leaf from the plant.

The sharp spine on the end of the leaf will be your needle. Use you knife and start a small cut down each side of the needle leaving a strip of yucca leaf that is about a quarter inch wide. Pictured below: splitting fibers from the sides of the needle with a knife.

Use your fingers to strip off the fibers on the outside edges of the leaf. Pictured below: Stripping of the outside fibers.

Use your knife and starting about an inch-and-a-half below the needle scrape off the waxy outer layer of the leaf. Pictured below: Scraping of the waxy outer layer.

Starting about an inch and a half below the point of the needle, split the exposed yucca fibers into two strand and twist these strands together to form your thread. Pictured below: top, Splitting the fibers with a knife; middle, separating the fibers into two strands with the fingers; bottom, Twisting the strands into thread.


You should now have about a foot to foot and a half long thread with a needle attached to it. The needle will easily penetrate cloth. If you are going to sew leather or canvas you will probably have to use an awl to punch holes in the material first. Pictured below: top, Finished needle and thread; bottom, sewing cloth with the yucca needle and thread.

Sunday, December 4, 2011

Fletching an Arrow with Duct Tape

Yes, there is yet another reason to keep duct tape around. You can actually make some pretty descent arrow fletchings out of duct tape. I was reading a survival chat the other day and someone wrote in asking about if you could fletch arrows with duct tape. Several responders were quick to deride the questioner. Obviously these guys practice most of there wilderness survival skills with a keyboard because I have been fletching survival arrows with duct tape for years. It's not pretty, but if it will put meat in the pot, who cares about pretty?

It's so simple to do that the pictures alone would probably show you how to make these fletchings, but just in case I will include a brief how-to description. I'm using dark red tape in the demonstration below because it’s easier to see against the background; but, of course, you can use any color that you have available. As far as that goes, you can use about any kind of tape that you have available as long as it is wide enough.

First, cut two strips of duct tape about five inches long.

Second, lay one of the pieces of tape down with the sticky side facing up.

Third, press your arrow shaft down onto the tape.

Fourth, lay the other piece of duct tape down on top of the arrow shaft

Fifth, stick the point of the arrow into the ground and use your fingers to pinch the two pieces of duct tape together.

Sixth, trim the fletching to the desired shape.

That's all there is to it. Here’s your finished arrow with a surprisingly durable fletching.

Wednesday, November 30, 2011

Making Arrow Fletchings from Whole Feathers

The purpose of putting a fletching on the back of an arrow is to create drag on the back end of the arrow. If the back of the arrow wants to move slower than the front of the arrow, the arrow will fly straight. Anything that will cause the back of the arrow to come into friction with the surrounding air will create the necessary drag to make the arrow fly straight. I have made survival arrows that are fletched with leaves, duct tape, paper, small whole feathers, and all sorts of other weird things. Of course the traditional fletching for arrows is a split feather, called a vane, which is glued and or tied to the arrow shaft. Almost any feather will do if it is large enough. Native Americans used the feathers of eagles, hawks, owls, and turkeys. The English preferred goose feathers. These days, most primitive archers use turkey feathers for fletchings. Eagle, hawk, and owl feathers can get you into serious trouble with the law, so stick with turkey feathers.

This is the procedure that you follow in order to turn a turkey feather into a usable fletching.

First take a look at the feather, especially the quill in the center of the feather. On the front of the feather the quill is rounded. On the back of the feather the quill has a groove down the center. Pictured below: top, front of turkey feather; bottom, back of turkey feather showing the groove down the center.


Now turn the feather so that the front is laying face up. Use one hand to hold the feather in place, and use a sharp knife, blade held ninety degrees to the quill, and begin gently scraping of the rounded crown of the quill. Scrape all the way down the quill. As you scrape the dark outer surface away, you will begin to see the underlying white pith. Stop scrapping before you get into the actual feathers themselves. Pictured below: scraping the crown off of the quill.

Now take the butt of your knife handle and gently tap along the entire length of the quill. Turn the quill over and tap along the entire length of the back side. The quill should begin to separate down the middle where the groove is located on the back. Pictured below: tapping the quill with knife butt.

You may have to take your knife point to the base of the quill and help it start splitting apart. Pictured below: Using the knife to start a split in the base of the quill.

Once the quill starts to split you can use your fingers to gently seperat the two halves. You should now have two separate vanes that can be used for fletchings. Pictured below: top and middle, splitting the quill; bottom, separated vanes.


The quill part of the fletching will probably be thicker than you want. Fix this by scrapping with your knife or rubbing gently with sandpaper. Pictured below: top, scraping the quill with a knife; bottom, sanding the quill.


I usually make my finished fletchings about four inches long. Since I tie the fletching on with deer sinew, there needs to be about three-quarters of an inch of bare quill on the front and back ends of the fletching. So, I cut may fletchings about five and a half inches long and then strip of three-quarters of an inch of feather on each end. Pictured below: top, cutting the vane to length; middle, stripping feathers from the vane; bottom, vane ready to trim or attach to arrow shaft.


The fletching can be trimmed to shape before attachment to the shaft, but I find the it is easier and that the results are more consistent if I trim the final shape after the fletchings are attached to the arrow shaft. Pictured below: top, trimming vane; bottom,trimmed vane.