In any
long-term grid down situation it will eventually become necessary to cook on an
open fire. This is, of course, assuming
that you don’t have an old time wood-burning cook stove. I personally don’t have a wood burning cook stove. I have a propane cook stove, and I have
enough propane to operate said stove for about a year. This makes it easy to deal with run-of-the-mill
power outages, but for a super long term emergency situation the propane will
run out. In order to keep cooking in
such a situation I have put together a pretty good outdoor cook set. This is not the kind of equipment that you
can throw in a bug-out bag. It is heavy,
it is durable, and it will last for generations; but it is not very portable
unless you have a vehicle. I’d like, in
this post, to tell you a little bit about my outdoor cooking equipment; so
without further delay, let’s get started.
The
Grill
The most
basic component of your outdoor cooking set-up is the grill. Grills come in many sizes, shapes, prices,
and configurations. There are many
places that you can purchase a good cooking grill. You can get a grill at a sporting goods
store or a big-box store like Wal-Mart.
I actually bought my 12” X 18” grill at a home building supply store for
about $10 US. I think it was a
replacement grill for an outdoor barbecue.

To
support the grill I made four legs by bending some 3/8 inch bar stock as
illustrated in the photo below.

To set
up the grill requires a small camp shovel and a hand axe or hammer. I use a hand axe because it is more
multi-purpose than a hammer.

Start by
digging a fire pit that is about four or five inches deep and slightly smaller
than your grill. One end of the fire pit
should slope up to ground level so that you can feed firewood down under the
grill.

Lay your
grill down over the fire pit so that you can determine where to hammer in the
legs, and use your hand axe to start the legs into the ground. Set your grill on the legs and tap each leg
in so the grill is as close to level as you can eye-ball. You should end up with about eight or ten
inches of space between the bottom of the fire pit and the surface of your
grill. This will leave enough room to
get a good fire going under the grill.

To fine
tune the leveling process, set a pan of water on top of the grill and tap the
legs down until the water is level in the pan.
You may not think it’s important to level your grill, but it’s really
annoying to try and cook something in a frying pan and have all the grease run
over to one side of the pan.

Fire
Irons
A set of
fire irons is a metal framework that is used to suspend cooking pots or a
coffee pot over your fire.


Fire irons
are not as easy to find as a grill. I’ve
never seen fire irons in a regular retail store. You can probably find fire irons on-line if
you want to go that route. Any good size
mountain man rendezvous or other re-enactor’s event will probably have a
blacksmith or two that sells fire irons.
I had my set made by a blacksmith friend. Blacksmithing is no longer a common
profession, but if you search on- line you might find one near you. Of course any welder can cut, heat, and bend
up some 5/8” bar stock and make you a set.
One part of the fire iron set that is pretty hard for an amateur to make
is the crane.

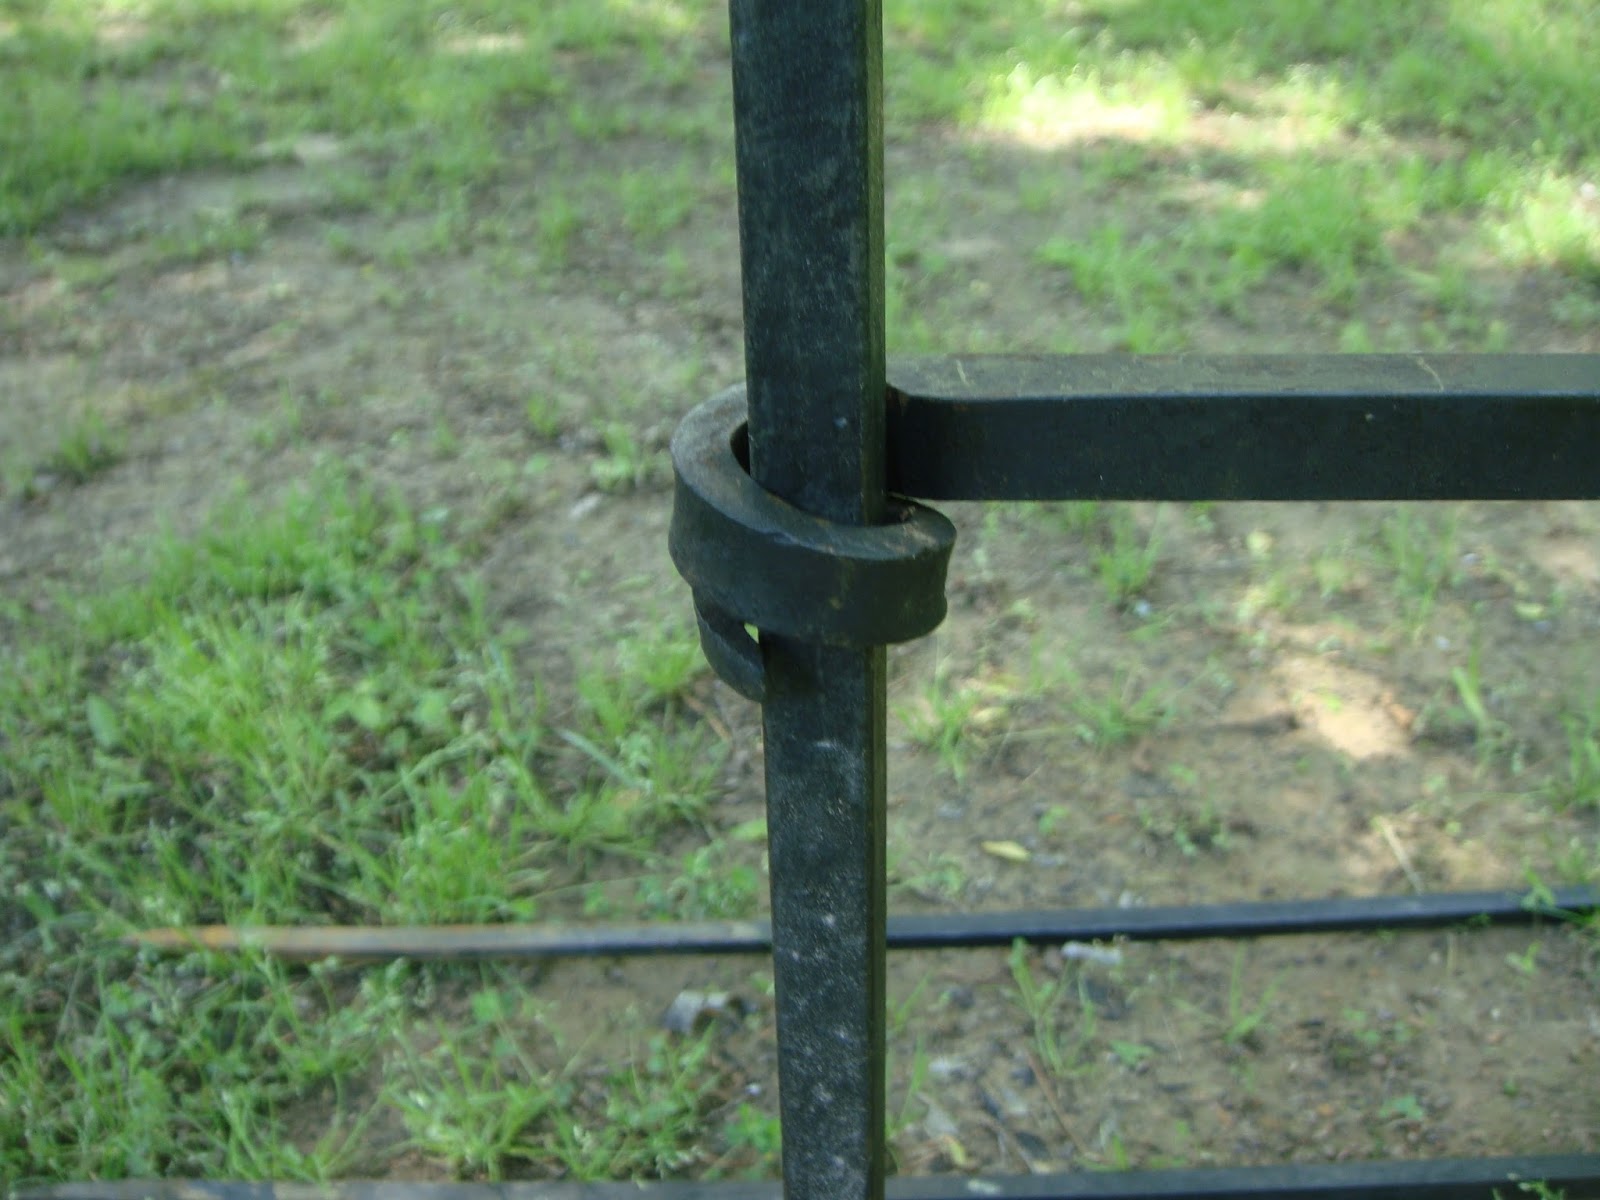
A crane
is a device that is attached to one of the uprights and can be moved up and
down and swung from side-to-side. A cook
pot or a coffee pot can be placed on the crane and then the crane can be
adjusted to keep the pot warm without any continued cooking. The good news is that a crane is not really a
super important part of the fire iron set, so if you don’t have one it’s really
not a big deal.
To set
up fire irons you simply drive the uprights into the ground on each end of the
fire pit and place the cross piece on top.
If you use a crane remember to place it on one of the uprights before
you drive the upright into the ground. I
like to place the uprights out as far as possible from the ends of the fire pit
so that I have a little extra room at each end of the top piece to hang my
griddle, my cooking utensils, and etc.
This also leaves better access for adding more wood to your fire.

One
final item or really items that you’ll need for your fire iron set is some pot
hooks. These hooks are used to suspend
cook pots from the top piece of your fire irons. Pot hooks can be fancy black smith items, or
they can simply be bent up out of ¼” round stock.


Whichever kind you use be sure to get them in
varying lengths so that you can adjust your pots to different heights above the
fire.


In my
next post I’ll familiarize you with the various pot, pans, utensils, and
accessories used in out-door cooking.

