Pages

Monday, November 6, 2017

Other Set-Ups for the Plow Point Tarp


The Pole Framework Set-Up

I wouldn’t waste the time or energy to do this set-up for a one night stay, but if you have a lot of materials available and if you are going to be in the same location for several nights, you may want to set up a pole framework for your tarp.

To do this set-up you will need a ridge pole that is a little longer that the diagonal length of your tarp, and you will need a couple of forked sticks that are about six feet long.  You don’t necessarily have to have forked sticks as you should have plenty of cordage in your kit that can be used to lash together some straight sticks into a bi-pod that supports the ridge pole.  You will also need a short piece of cordage to  attach the front of the tarp (one of the cords used to tie around your kit will work for this), and you will need seven tent stakes.

First set up the framework as pictured below.


Here is how you can lock the forked sticks and ridge pole together.

Now you drape the tarp over the ridge pole and stake down the back of the tarp.

Pull the front of the tarp up and tie it off to the ridge pole and forked sticks then stake down the sides.

The One Stick Set-Up

If you are in a situation where you have very limited vegetation you can set up your tarp with only one stick.  In the example below I have pitched the tarp using only my walking stick which is about five feet long.

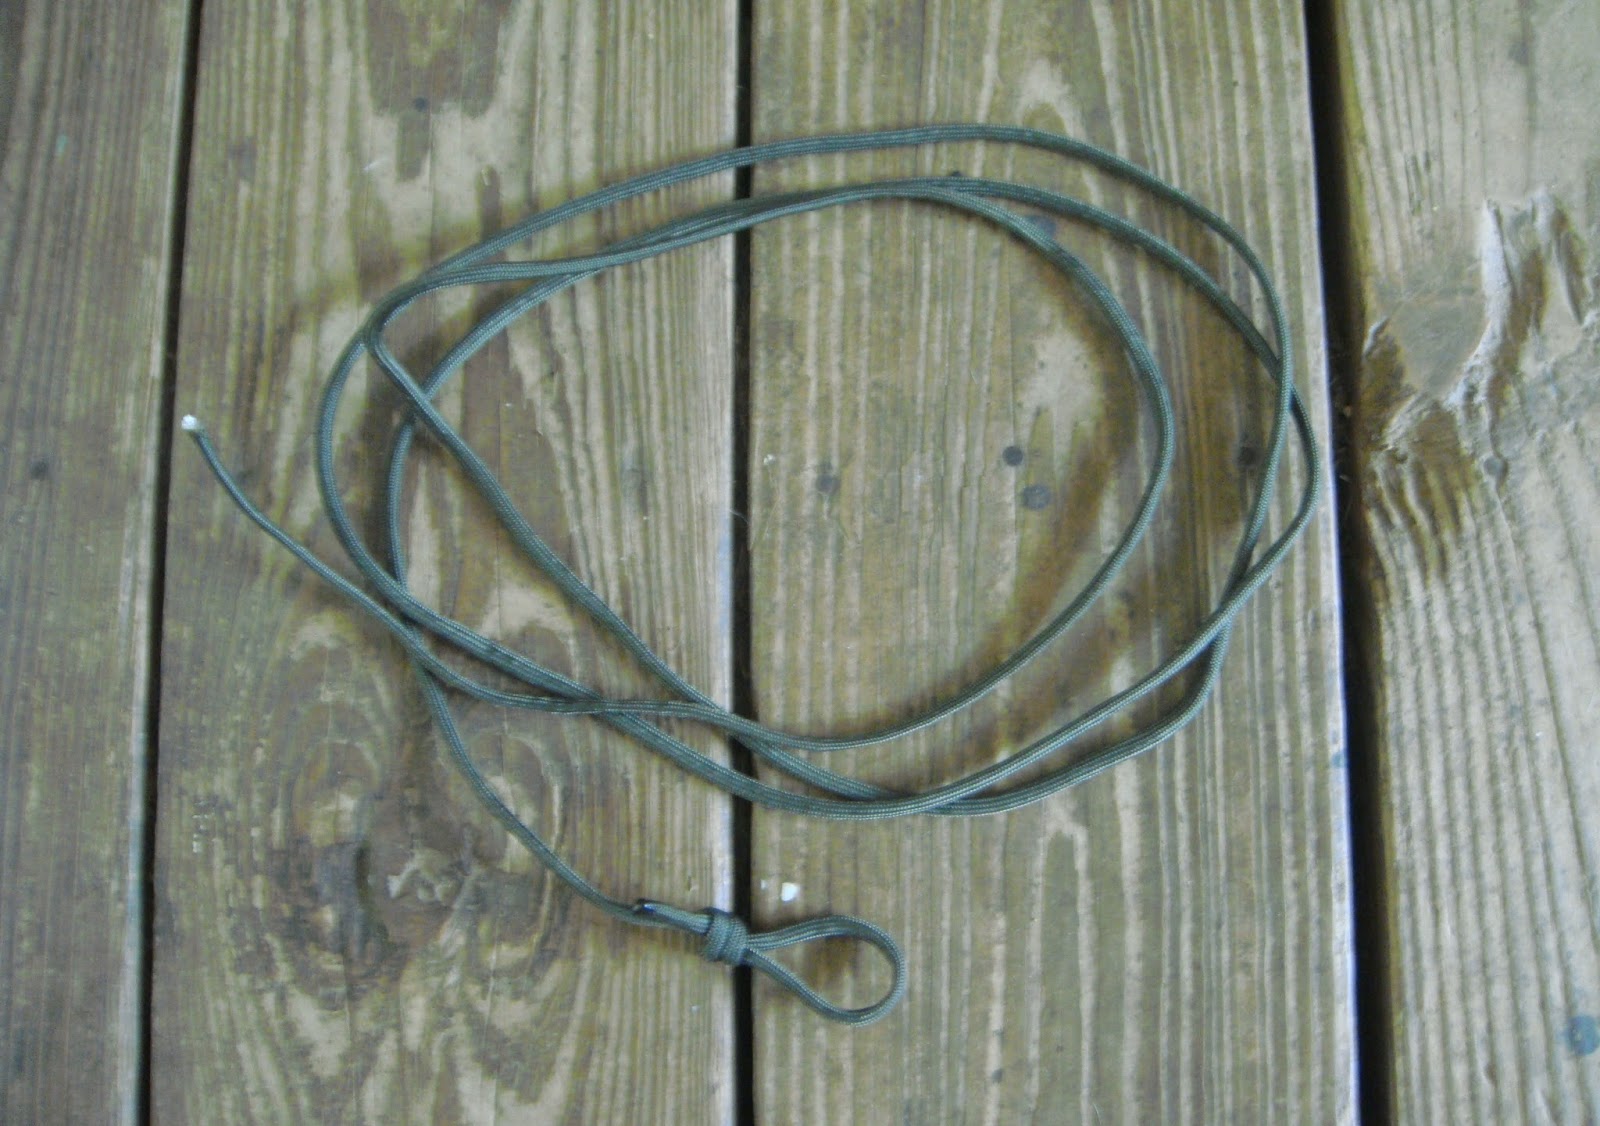
In addition to the single stick you will need two of the six foot pieces of cordage from your kit and all of your tent stakes.

First you need to stake down the back of the tarp.

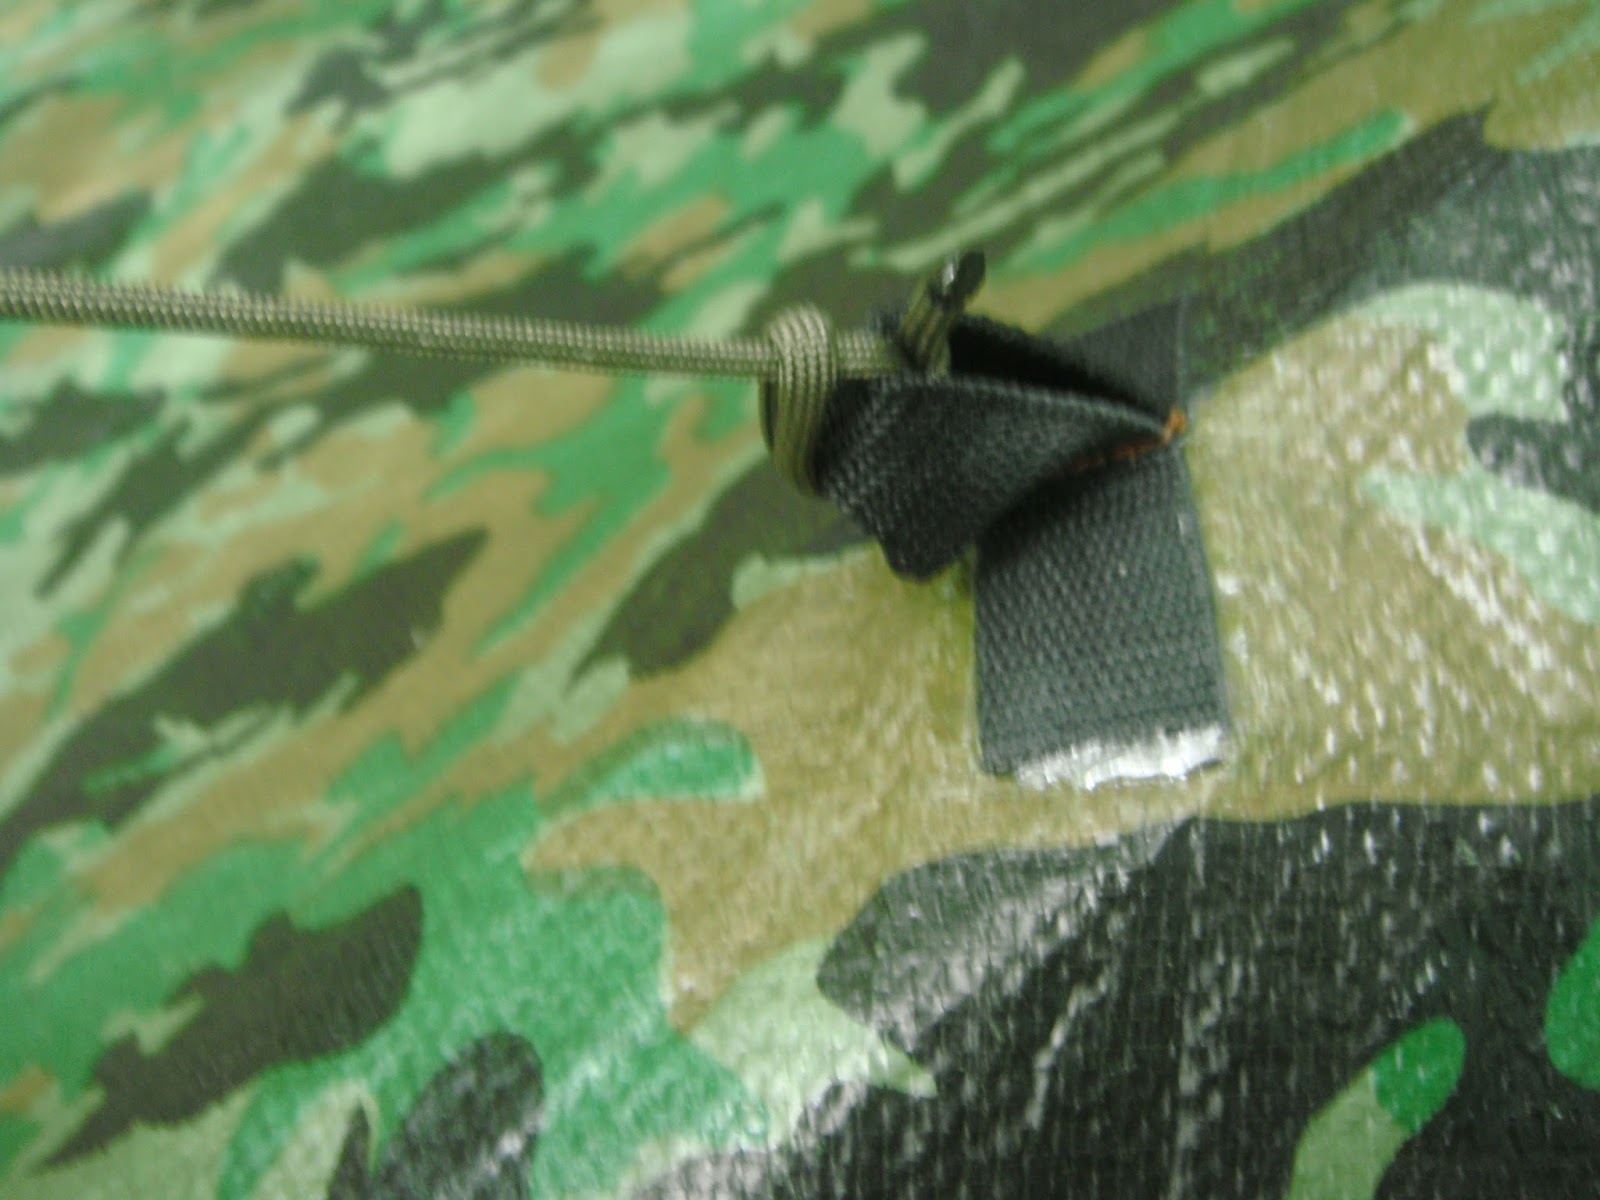
Then you need to attach the front of the tarp to 
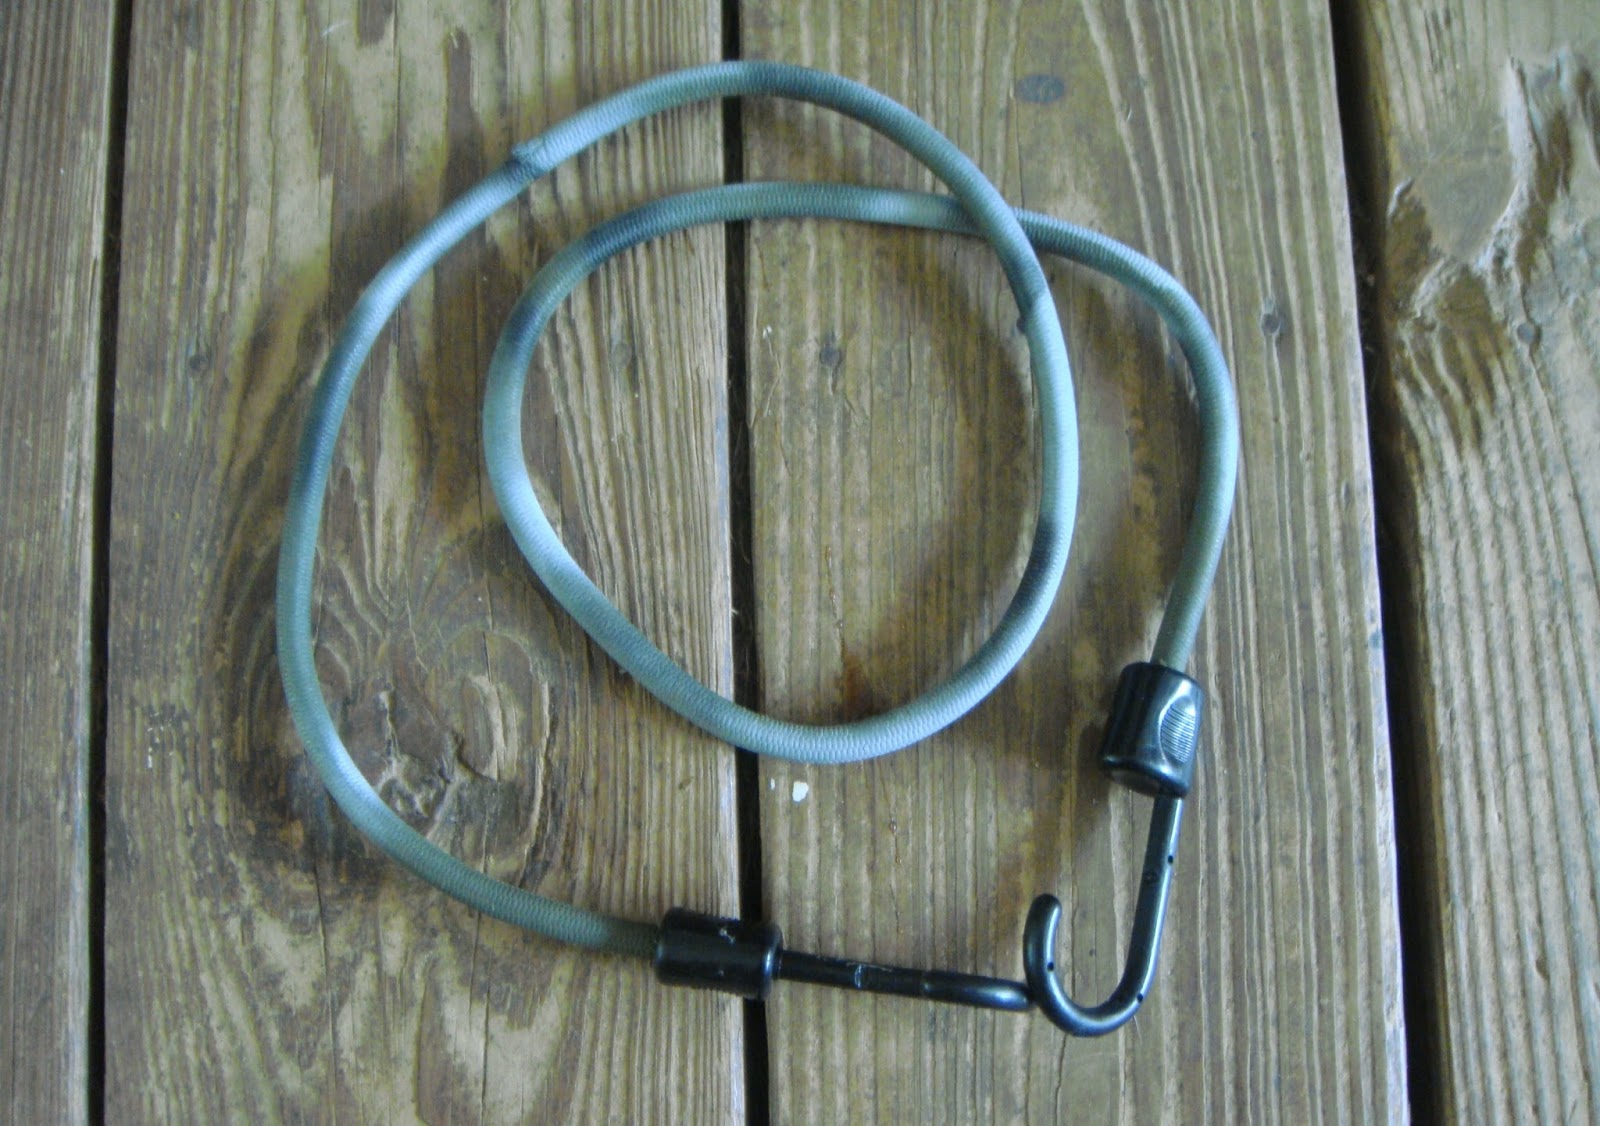
your stick.  In this instance I used the lanyard on my walking stick and looped it through the front grommet on the tarp and then back over the walking stick.  If you use a found stick you will need to use a short piece of cordage to tie the tarp off to the stick.


Now pull the tarp forward to tighten up the ridge line and attach your two, six foot pieces of cordage to the top of the stick.

This next step is easier to do if you have two people so that one person can keep the stick in place while the other person sets the tent stakes, but you can do it alone as I did in this instance.  So, what you do is drive in a couple of tent stakes that are about 45 degrees on each side of the stick.  The stakes need to be about four feet out from the stick. 

Tie off your guy lines to the stakes to hold the stick upright.  Make sure that the ridge line of your tarp is tight.  Use your remaining tent stakes to stake out the sides of the tarp and you’re done.


Friday, October 6, 2017

The Plow Point or Diamond Fly Tarp Set-Up

I started using this particular tarp set-up years ago.  At the time everyone I knew called it a diamond fly.  Today the term plow point seems to be more popular, but which ever name it goes by this is definitely one of the quickest and easiest set-ups that you can use.  If you tie off the front of the tarp to a tree you can create a good, rain proof shelter in ten minutes or less.  If you don’t have a convenient tree to use it may take a few minutes more. 

Here’s the equipment you will need from your shelter kit:

You will, of course need your tarp.
You will need one of your small, pre-made loops and your bungee cord
You will also need one long stake and six short stakes.
Lastly, you will need a couple of your six foot long guy ropes and one of the little two inch sticks.

Now let’s set up our diamond fly:

First lay out your tarp as pictured below.  It’s best if you can find a location with one tree at the front of the tarp and another tree at the back.  In this case the front of the tarp will be attached to the tree on the left.


Next, attach your small loop to the front corner of the tarp.

Use your bungee cord to attach the front of the tarp to the tree.  You can vary the height according to conditions, but I usually set the front at about chest height.

Grab the back corner of the tarp and pull it back toward the back tree.  Use your long stake to stake the tarp down good and tight so that you have a nice diagonal ridge line.


Use your six short stakes to stake out first one side of the tarp and then the other.  You want to pull the sides out as far as you can without making the ridge line start to sag.


You could stop at this point and call it home, but it only takes a minute to make your set-up a little better. What we’re going to do is attach a guy line between the center loop of the tarp and the back tree.  This will pull the ridge line up a little bit and keep it from sagging down in the middle.  If it’s very far to the back tree you may need to tie two guy lines together to make a long cord. Here’s how you set up the guy line:

Attach one end of the guy line to the tarp’s center loop as pictured below.


Pull the other end of the guy line back to the back tree and wrap it around the tree a couple of feet higher than your bungee cord is attached to the front tree.  Tie the guy line off using the simple quick release knot pictured below.  Notice that the small stick is inserted into the finished loop to prevent accidentally
untying the knot.


That’s it.  You’re ready to move in for a good night’s sleep, and the next morning you can break camp as quick as you set it up.

Wednesday, September 13, 2017

My Bug-Out Shelter Kit


When some people are camping they like to be in a tent; other people like to sleep in the open or under a tarp.  I am in the later group.  If the weather is nice, I like to sleep in a hammock or a sleeping bag and bivy sack under the stars.  If the weather is threatening rain or if it is cold; I like to sleep under a tarp.  There are several reasons that I prefer a tarp.  For one, tarps are very light to carry.  My tarp set-up including lines, stakes, etc. weighs 3 lbs. 10 oz.(that’s about 1.65 kilos for my non-American friends).  For another thing, a tarp is very versatile as far as different set-ups.  A tarp can be set up to take advantage of a fire for additional heat in the winter, and it can be suspended overhead to allow better air circulation in the summer.  A tarp also allows better exterior visibility than a tent.  And lastly, a tarp can be used in conjunction with a hammock, something that is not possible with your average tent.

I’m going to do a couple of posts on my favorite tarp set-ups; but before I do that, I thought it might be good to show you my bug-out tarp kit.  Some might say that I include too much in my kit.  Some of the items could be foraged or manufactured in the wild.  This is true.  You could, in fact, build your entire shelter from foraged materials, and I encourage you learn how to do just that.  But, everything about survival is a trade-off.  You have to constantly be thinking about how much space you have in your pack, the weight of items that you carry, the time necessary to locate and/or make items in the wild, and the calories burned carrying items as opposed to the calories burned making items.  I consider the small amount of added weight in my kit to be negligible compared to the time and calories used to do things like cutting tent stakes.  My whole tarp kit weighs three pounds and ten ounces and rolls up into a nice 24” by 6” bundle.

With the items in my kit I can make my three favorite tarp set-ups without any additional materials. So anyhow, this is what’s in my kit.

Item number one is my tarp.  It is an inexpensive vinyl tarp that you can get at Harbor Freight or Wal-Mart.  The tarp is about eight by ten feet.  I used tarps like this for several years; but I recently modified it, as outlined in the previous two posts, by painting the inside with reflective aluminum paint, and I have added a center loop to the outside.


Some set-ups require a ridge line.  I carry a twenty-five foot piece of 550 para-cord to use as a ridge line.  It has permanent loop tied into one end.  The ends of all of my cords have been melted to prevent fraying.  Be sure that you use good, military grade para-cord, not the cheap stuff from the craft store.


A 40 inch long bungee cord is handy for quickly setting up plow-point shelters (more on that in the next post).

I carry eight guy lines that come in handy for some set-ups.  Each guy line is six feet long with a permanent loop in one end.


My kit includes eight tent stakes.  Two on them are about eleven inches long and made of steel.   

The other six are seven inches long and made of aluminum.  These are actually aluminum nails that are used to hang rain gutters.  You can buy them at the hardware store for about fifty cents each. 


I keep them bundled together with one of those thread covered rubber hair bands.

Some small loops of para-cord come in handy for certain set-ups.  I carry six pre-made loops bundled together with a hair band.


 I carry four little sticks that are pre-cut to about two inches long.  These are used for tarp attachments and to secure easy release knots (more on this later).

All of the lines, stakes, and etc. are stored in a small stuff-sack.

The last item in my kit is a piece of camo netting that I can drape across the front of my shelter to help conceal it.

So, that’s my tarp kit.  In subsequent posts I will show you how to make several tarp set-ups using the items in this kit.

Sunday, August 20, 2017

Adding a Center Loop to your Vinyl Survival Tarp


Most vinyl tarps have grommets around the outside edges but few, if any, have loops on the back of the tarp.  A center loop can be very helpful with tarp set-ups like the diamond fly, also called the plow point.  The center loop allows you to attach a line in the middle of the tarp and give a little lift to take the sag out of your ridgeline.  But, my $15 Harbor Freight tarp didn’t have a center loop; so I decided to attach one myself. 
I have added loops to canvas tarps by stitching and then re-waterproofing the affected area, but I was concerned that this wouldn’t work on vinyl.  I was afraid that it would either leak or tear out too easily, so I thought that maybe I could glue the loops on for a stronger and more leak-proof bond.  I found a You Tube video by a young fellow who goes by “Brave the Wilds” in which he glued on tarp loops (check out his You Tubes at www.youtube.com/user/bravethewilds), so I followed his lead and proceeded as follows.

To do this project you will need the following:
Tape measure
Marking pen
Woven nylon webbing
Scissors
Ice pick and heat source
Straight pin
Sewing machine or needle and thread\
Medium grit sand paper (one small piece)
Rubbing alcohol
Cotton ball
Two part, five minute epoxy
Some weights

First cut a piece of nylon webbing that is about six to six and one half inches long.


Next, heat the ice pick in a flame and use it to gently melt the ends of the webbing.  This will keep it from unraveling.

Fold the webbing in half and pin it about an inch from the loose ends.


At this point you can sew across the loop by hand of with a sewing machine.  My wife sewed it for me on her machine, and she went back and forth about three times to make it good and strong.


So now you have your loop and it’s time to prepare for gluing.

Lay your tarp out on a flat, hard surface and set the loop down on your center mark.

Use your marking pen to outline the area to which the loop tabs will be glued.

Use the sandpaper to very lightly rough up the surface of the tarp and the tabs of the nylon webbing.  This will help the glue adhere better.


Dampen the cotton ball with rubbing alcohol and clean the surface of the tarp and the loop tabs.  Let them dry for a few minutes.


Mix the five minute epoxy according to directions.

Apply epoxy to the tarp trying to stay inside the outline that you have drawn.  Get a good coat of epoxy but don’t overdo it.

Apply epoxy to the loop tabs
  

And press the tabs into place.

Place some weights on the top of the tabs to press them down but don’t get epoxy on the weights or you may end up with them glued to the tarp.  A couple of small pieces of wax paper between the tabs and the weights might help prevent accidental gluing.

Note that 5 minute epoxy sets in 5 minutes but it is not cured and strong.  You should leave the weights in place for at least over-night to make sure that the loop is firmly attached.

When you remove the weights you will have a nice web loop attached to your tarp.

Here are a couple of pictures of the tarp loop in use.  It seems to be firmly in place and doing its job.