Pages

Tuesday, January 29, 2013

Turn an Old Slingshot into an Arrow Shooting Hunting Tool


I came across an old slingshot the other day, and it made a little light go off in my head.  I had thought before about making a slingshot that would shoot an arrow, kind of like an underwater spear gun, and now here was my opportunity.  I thought about it a little while, and decided that the only real change I would have to make to the slingshot would be to put some king of arrow rest on it to hold the arrow.  Pictured below: Materials needed to make an arrow shooting slingshot.
 I dug around in my shop and came up with some heavy gauge solid wire that looked like it would work for the rest.  An old piece of wire coat hanger would probably have done just as well.

A few minutes work with some needle-nose pliers, and I had my arrow rest ready to attach.  I bent a little dip in the center of the rest to hold the arrow shaft, and I bent down the ends of the rest so that I could attack them to the slingshot with a few good wraps of duct-tape.  The main thing I was concerned with was positioning the arrow rest so that it would be the same height as the rubber-bands on the sling shot.  This would help to aim the arrow more accurately, and avoid having the arrow leave the slingshot at a downward angle. Pictured below: top, Wire bent to form arrow rest; middle, arrow rest held in position on slingshot; bottom, Arrow rest duct-taped into place.


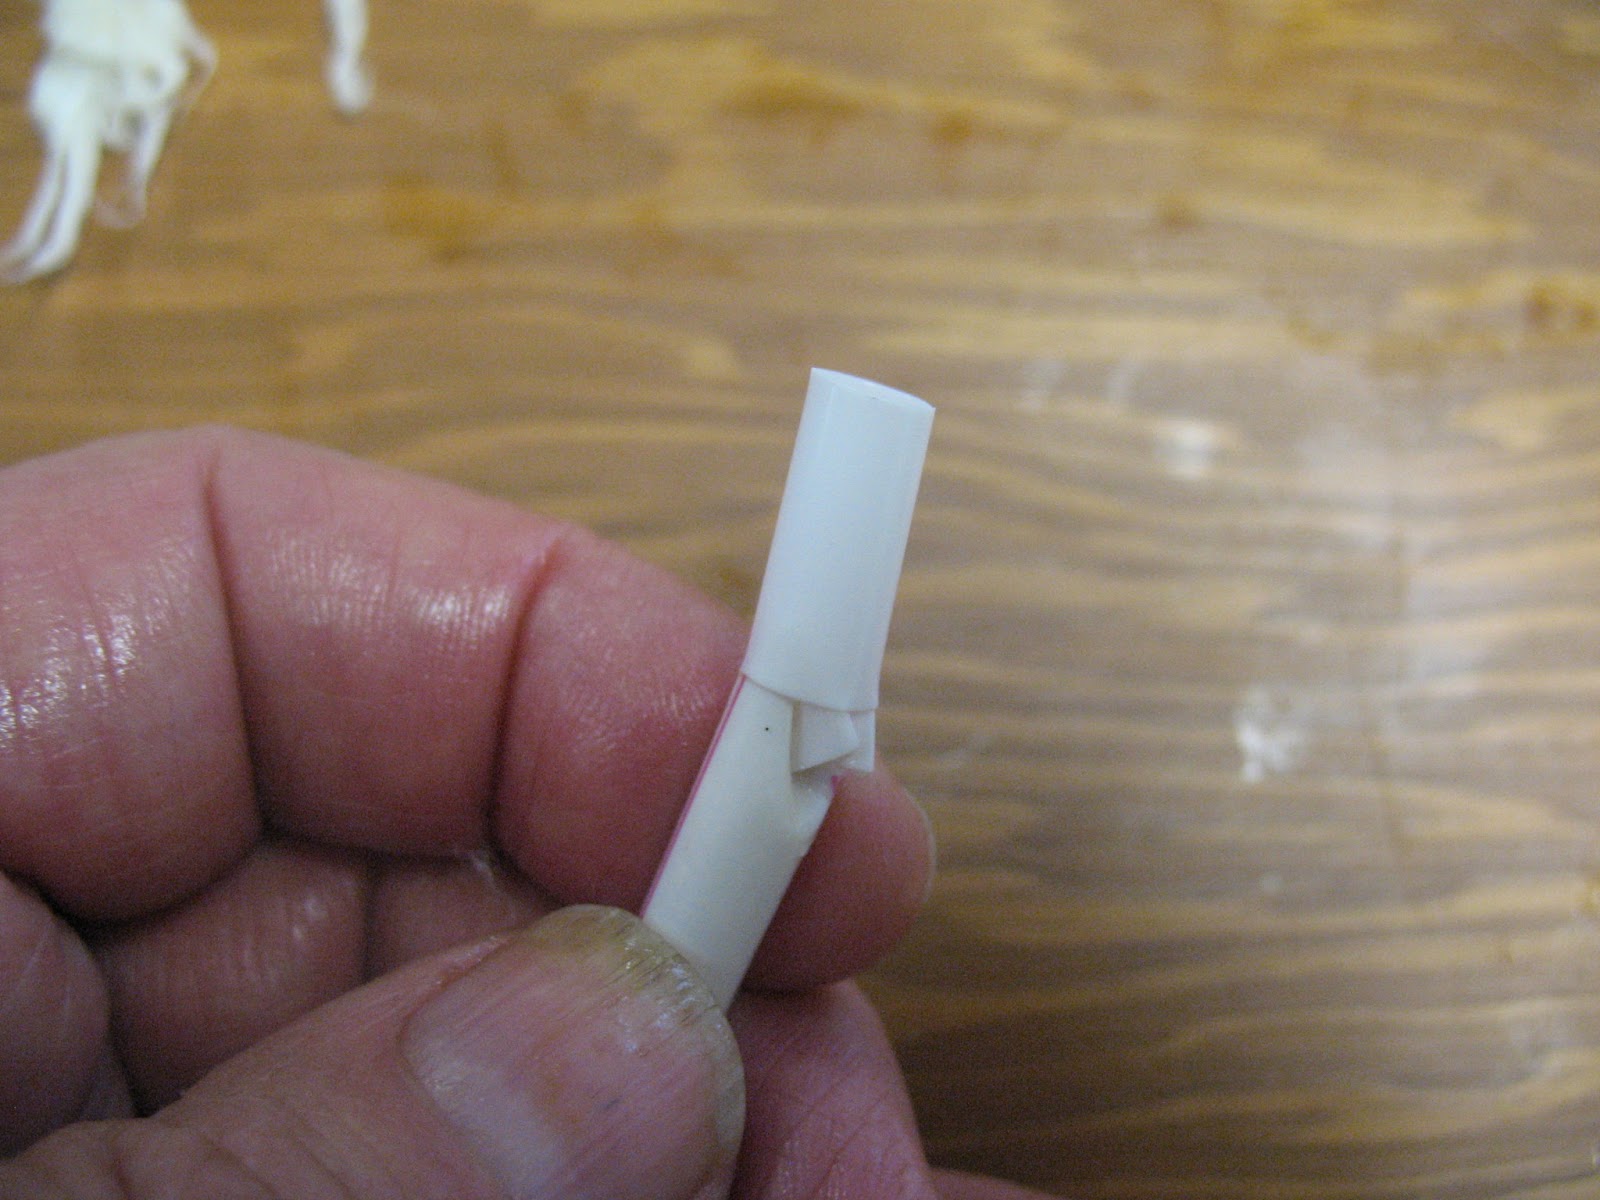
Now all I needed was an arrow. I used a 5/16" dowel rod about 30" long for the arrow shaft, and glued a metal field point on the tip.  Pictured below: Field tip glued onto dowel rod arrow shaft.
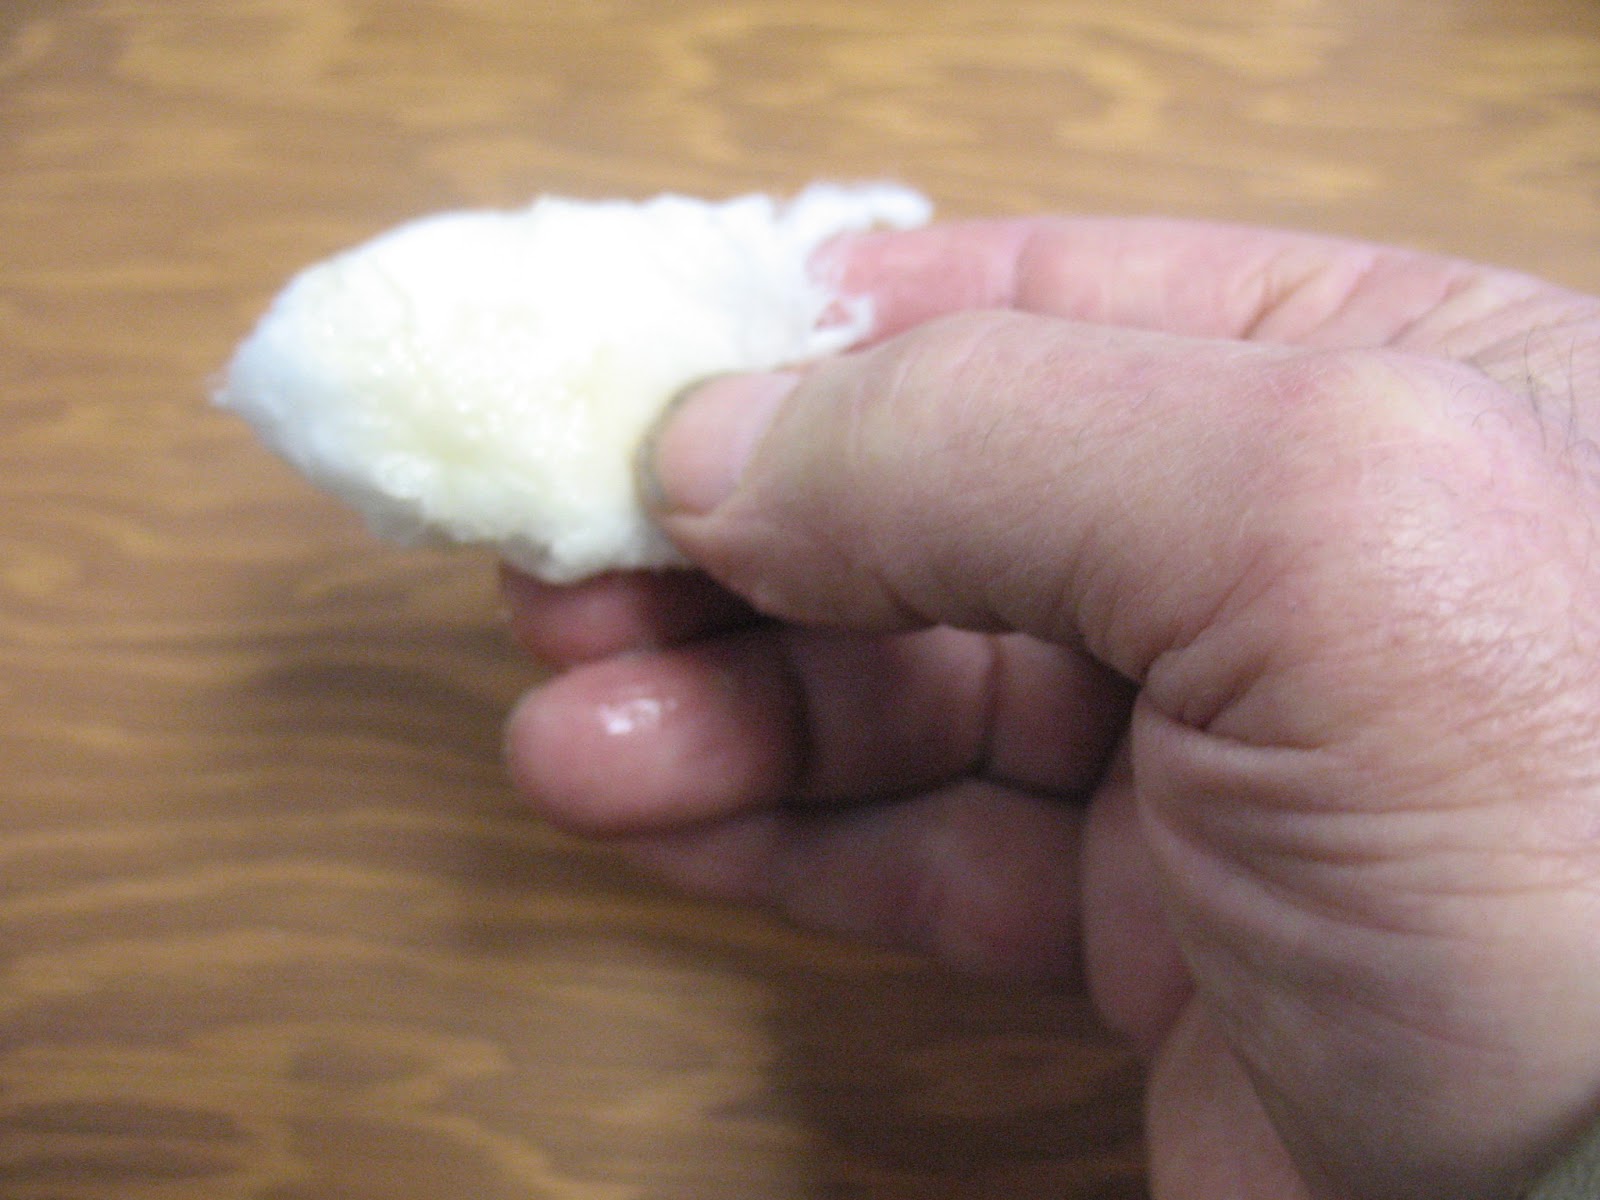
I made the arrow fletching by cutting a couple of pieces of duct-tape and pressed the duct tape together on opposite sides of the arrow shaft. Pictured below: top, first piece of duct tape in place; bottom, Second piece of duct tape in place.


Then I used scissors to trim the fletching to shape.  I decided to go with just two fletchings instead of three like on a regular arrow.  Most crossbows that I've seen just have two fletchings, and I figured that two fletchings would ride over the arrow rest more smoothly than if the arrows had three fletchings.  No need to cut a nock in the arrow because you are going to pinch it in the leather pocket of the slingshot. Pictured below: Fletching trimmed to shape.
 I took my new arrow shooter out back and did a little field test.  It worked great.  Pictured below: Shooting an arrow with my converted slingshot.
I think with a little practice I should be able to bring down small game without any problem.  I will definitely stick this little arrow shooter in my bug-out-bag along with a couple of glue-on broadheads.  The slingshot doesn't take up hardly any room, and it would be a simple matter to build a hunting arrow in the field. 


Tuesday, January 22, 2013

Make a Signal Whistle from Bamboo or River Cane


All survival kits should include a whistle to signal for help.  A whistle can be heard farther away than a human voice, and besides it doesn't take long to holler yourself hoarse if you are trying to shout for help. To signal for help with a whistle blow three loud, and distinctly separate blasts on the whistle, pause for ten seconds and repeat, pause another ten seconds and repeat.  If someone is in the vicinity they will hear the first series of three sounds but probably won't be able to establish where they came from.  The next two series of sounds will allow rescuers to zero in on your location.  Perform this nine blast series every ten minutes as it will take rescuers this long to cover ½ mile on foot.  That is if they are making good time.

But let's be honest.  How many times do you go out hiking, or hunting or fishing and don't carry a whistle with you.  Probably a lot.  So what I'm going to show you here is how to make a signal whistle out of bamboo.  No way is it as loud or effective as a 120 decibel survival whistle, but it sure beats hollering yourself hoarse and then having a rescuer pass 200 yards away and never know that you are there.

Here's how you make the whistle:

1.  Start off with a piece of bamboo or river cane that is about as big around as your little finger and a stick of any kind of wood.  The stick should be of a size that will slip tightly into the hole of you cane.

2. Cut a section of the cane that is about three inches long.  Leave a solid joint on one end and the other end should be open.

3.  Now cut a small stick that will fit tightly into the open hole in the cane.  This is a little tricky.  The stick needs to fit tightly, but no so tightly that it will split the cane when you push it into the hole.  You can leave the bark on the stick.  It only needs to be about six inches long because you are really only going to use about an inch of it.

4.  Now you are going to carve a notch in the cane.  Start the notch by making a vertical cut into the cane about ¾ inch from the open end of the cane.  Cut down about half way through the cane.  Now working from the closed end of the cane, carve back at an angle to the bottom of the vertical cut.  You should end up with about a ½ to ¾ inch hole into the inside of the cane.


5. Cut about an inch long piece of your stick and split off about a third of one side of the stick.


6.  Insert the stick into the open end of the cane and push it in flush with the end.  The flat side of the stick should be facing up toward the notch.  You should be able to look down into the notch and see about 1/8 inch of the stick intruding into the notch.


That's it.  Blow into the end of the whistle that you shoved the stick into.  It should make a nice loud tone.  By making the cane different lengths you can very the pitch of the whistle.  The shorter the cane the higher the pitch will be.

We did a little experiment to see how far away you could hear this whistle compared to a regular metal coach’s whistle and a specifically designed survival whistle.  Three of my survival students took the three whistles and walked off through the woods.  They kept track of their distance using a set of ranger beads and blew all three whistles every two hundred meters.  The rest of the class (6 people) stayed in camp and listened for the whistles. Here are the results:

200 meters – all three whistles audible by all listeners
400 meters – all three whistles audible by all listeners
600 meters – cane whistle and survival whistle audible by all listeners with cane whistle being loudest
800 meters – no whistles audible by any listeners

I, for one, was kind of surprised at how well the cane whistle performed.  I really expected the survival whistle to do the best.  Next time I have a class we will try the same experiment in 100 meter increments.

Tuesday, January 15, 2013

Fire Starter in a Drinking Straw


This is one of the best and most convenient fire starters that I've come across in a long time.  Many of us know that cotton balls rubbed with petroleum jelly make great fire starters, but they are messy and not real convenient to carry.  This method makes it easy to carry these little fire balls and they won't leak and get on your clothing or other gear.  All you need to make these is some cotton balls, petroleum jelly, a plastic drinking straw, a pair of scissors, and a small stick.

Start off by taking a cotton ball or two and rubbing them thoroughly with petroleum jells.  While you're at it go ahead and pull apart the cotton into thin shreds.  Pictured below: top, Rubbing petroleum jelly into cotton balls: bottom, shredded up cotton
Now take the drinking straw and cut it into two 3 inch tubes, and four ½ inch tubes.  Pictured below: Cut up drinking straw

The next part is a little hard to describe, but the pictures should make it easier to understand.

1. Use your thumbnail to crimp across the straw about ¼ inch from one end, then fold that end down.

2. Now use your thumbnail to make a length-wise crease in the part that you folded down. Then pinch the end together.
3. Now take one of the ½ inch pieces of straw and slip it down over the end to hold it closed.
4. Turn up the open end of the straw and start stuffing it with the soaked cotton.  I find that it is easier if I kind of roll the cotton between thumb and fingers to make a string out of it.
5.  Use the stick to tamp the cotton down tight in the straw.
6. Fill the straw to about ½ inch from the top, then fold the top end down the same way you did the bottom.  Crimp it, put a ½” collar on it, and you’re finished.

Wipe off any petroleum jelly that you got on the outside, and you now have a leak proof, waterproof, convenient fire starter that you can add to a survival kit, put in your glove box, or drop in your pocket.  To use the fire starter just cut it open, fluff up the cotton and light it up.  This stuff will ignite easily using a metal match type fire striker.


Wednesday, January 2, 2013

Make a Throwing Arrow


This is a hunting arrow that my old mentor taught me how to make.  Some people call it a Swiss arrow; others call it a Yorkshire arrow.  He always called it a throwing arrow, so that’s how I refer to it.  The throwing arrow works on the same principle as the atlatl, but instead of using a solid stick as a dart thrower, you use a piece of string.

The arrow or dart is much like a regular arrow except it is a little larger in diameter and a little longer.  The arrow that I am making here is about 3/8 inch on the large end (back), 5/16 inch on the small end, and around 36 inches long.

So, let’s make a throwing arrow.  The first thing that we will need is an arrow shaft.  I found a nice straight shoot of Yaupon Holly that I cut for my arrow shaft, but any good solid, straight wood will do.  If you don’t have access to any wild material, you can buy a 3/8 inch dowel rod at the hardware store.  After removing the bark, I let the shaft dry of a couple of days so that it wouldn’t be too sticky.  I did a little gentle hand straightening to take a couple of small kinks out of the shaft.  Pictured below: Yaupon Holly arrow shaft.
Next is the fletching.  I split a couple of wild turkey wing feathers and cut them to length for fletchings.  I am going to use four fletchings on this arrow.  Don’t ask me why.  That’s the way my mentor did it, so I’m just continuing the tradition.  I’m sure it will work just as well with three fletchings. Pictured below:  Turkey feather fletchings.
 After the fletchings are cut, they need to be attached to the shaft.  In this case I used glue and deer sinew to attach the fletchings.  After the sinew is dry you can cut the fletchings to shape.  Here’s a hint, don’t leave the fletchings too tall or they will slow down the speed of your arrow, kind of like a floofloo arrow.  Pictured below:  Two views of the fletched arrow.
 Because I am going to use this arrow for target practice I attached a commercial field point to the front.  For actual hunting you would want to knap out a nice broadhead from flint or glass.  Pictured below:  Field point attached to front of arrow.
Now the last step.  Come down about an inch below the front of your fletchings and cut a notch in the shaft.  The notch should be cut to a depth of little less than half way through the shaft.  The front side of the notch (the side toward the front of the arrow) should be straight up and down.  The back side of the notch should be sloped back toward the fletchings.  The picture below gives a good illustration of how the finished notch should look.
Now you need a string to throw the arrow with.  I twisted one up out of yucca fiber, but a piece of para-cord or any other similar size string will do.  The string needs to be about one-and-a-half times the length of the arrow.  You will need to tie an overhand knot in each end of the string.

These directions for attaching the string to the arrow are for a right-handed person:

1. Hold the arrow in front of you in right hand with the notch facing you.

2. Lay the knotted end of the string into the notch from the left with the knot ending up about 1/8 inch to the right of the notch.

3. Put your left thumb on top of the string in the notch to hold the string in place.

4. Using your free right hand, wrap the string in back of the arrow and then pass it over the top of the string between the arrow shaft and the notch.

5. Pull the string tight in order to lock it in place in the notch.

6. Use your left hand to keep the string tight while you wrap the loose end of the string around your right hand two or three times.

7. Now pull your right hand to the front of the arrow (keep tension on the string so that it doesn’t fall out of the notch).

8. Grip the arrow shaft between the thumb and fingers of your right hand about three inches back from the point.  You may have to wrap or un-wrap a little more string around your right hand in order to have your hand in the right place on the shaft.  You are now ready to throw.

This process sounds kind of complicated, but it really only takes about three seconds to get the string on the arrow and have it ready to throw.  The pictures below are probably easier to understand than the written explanation.
 Throwing the arrow just takes practice.  You want to throw it with an overhand motion, not side-arm.  Your arm should be fairly straight but not locked at the elbow.  I find that I get the best results if I just forget about the string and act like I’m trying to throw the arrow with my hand; and then keep my throwing hand moving in a follow-through that ends by my knee.  Pictured below: Throwing the arrow.
 I can throw one of these arrows about 40 to 50 yards, but I have to admit that my accuracy is not that great.  It’s like anything else; practice makes perfect, or at least better.