When some people are camping they like to be in a
tent; other people like to sleep in the open or under a tarp. I am in the later group. If the weather is nice, I like to sleep in a
hammock or a sleeping bag and bivy sack under the stars. If the weather is threatening rain or if it
is cold; I like to sleep under a tarp.
There are several reasons that I prefer a tarp. For one, tarps are very light to carry. My tarp set-up including lines, stakes, etc.
weighs 3 lbs. 10 oz.(that’s about 1.65 kilos for my non-American friends). For another thing, a tarp is very versatile
as far as different set-ups. A tarp can
be set up to take advantage of a fire for additional heat in the winter, and it
can be suspended overhead to allow better air circulation in the summer. A tarp also allows better exterior visibility
than a tent. And lastly, a tarp can be
used in conjunction with a hammock, something that is not possible with your average
tent.
I’m going to do a couple of posts on my favorite
tarp set-ups; but before I do that, I thought it might be good to show you my
bug-out tarp kit. Some might say that I
include too much in my kit. Some of the
items could be foraged or manufactured in the wild. This is true.
You could, in fact, build your entire shelter from foraged materials,
and I encourage you learn how to do just that.
But, everything about survival is a trade-off. You have to constantly be thinking about how
much space you have in your pack, the weight of items that you carry, the time
necessary to locate and/or make items in the wild, and the calories burned
carrying items as opposed to the calories burned making items. I consider the small amount of added weight in
my kit to be negligible compared to the time and calories used to do things
like cutting tent stakes. My whole tarp
kit weighs three pounds and ten ounces and rolls up into a nice 24” by 6”
bundle.

With the items in my kit I can make my three favorite tarp set-ups without any additional
materials. So anyhow, this is what’s in my kit.
Item number one is my tarp. It is an inexpensive vinyl tarp that you can
get at Harbor Freight or Wal-Mart. The
tarp is about eight by ten feet. I used
tarps like this for several years; but I recently modified it, as outlined in
the previous two posts, by painting the inside with reflective aluminum paint,
and I have added a center loop to the outside.


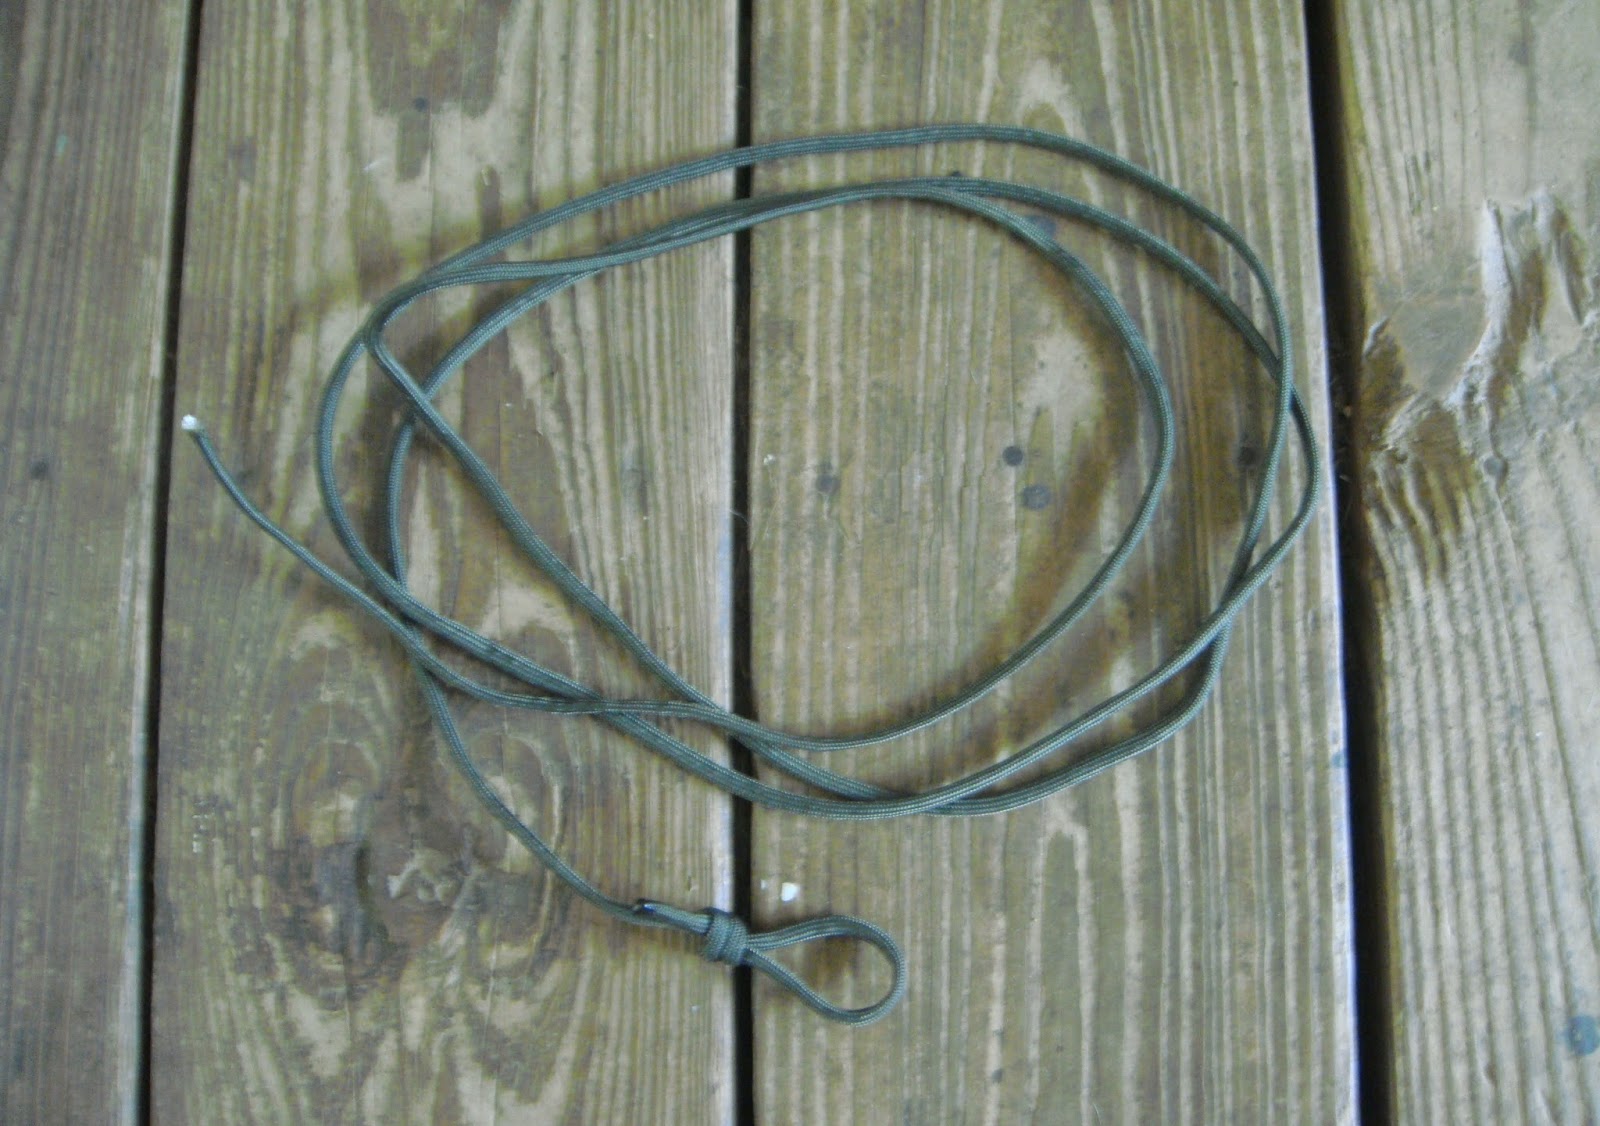
Some set-ups require a ridge line. I carry a twenty-five foot piece of 550 para-cord to use as a ridge line. It has
permanent loop tied into one end. The
ends of all of my cords have been melted to prevent fraying. Be sure that you use good, military grade para-cord, not the cheap stuff from the craft store.


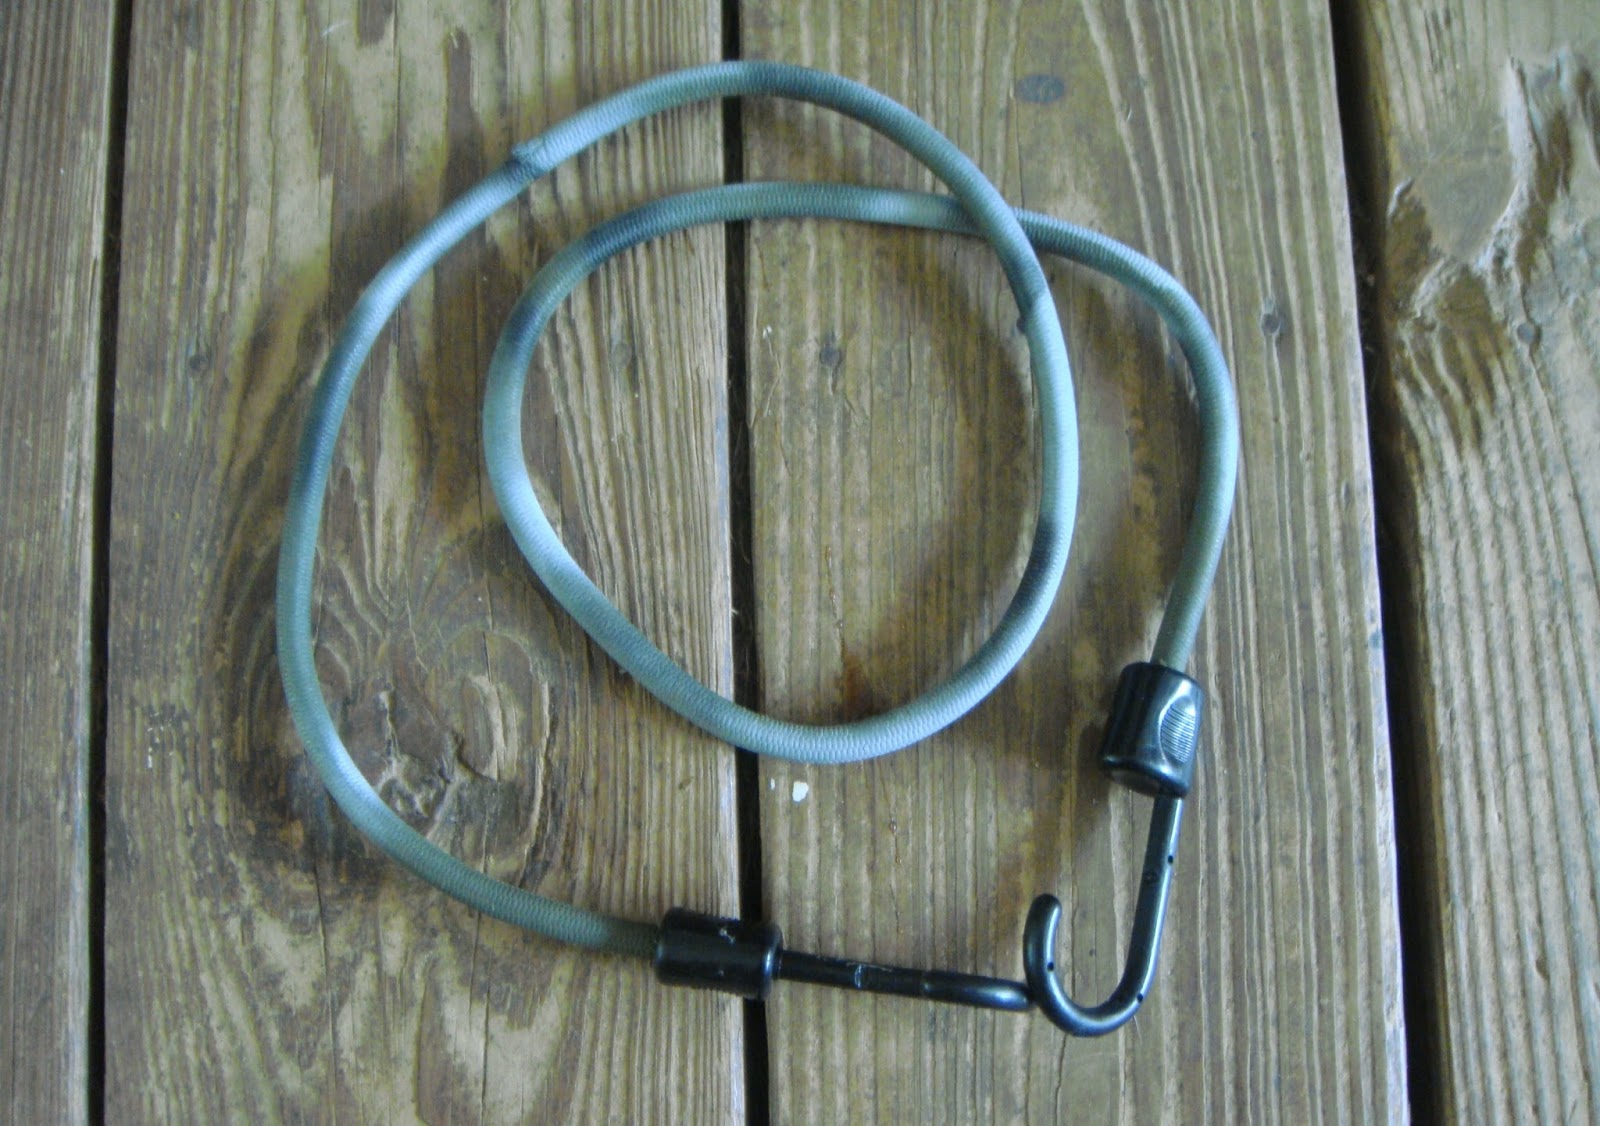
A 40 inch long bungee cord is handy for quickly
setting up plow-point shelters (more on that in the next post).
I carry eight guy lines that come in handy for some
set-ups. Each guy line is six feet long
with a permanent loop in one end.

My kit includes eight tent stakes. Two on them are about eleven inches long and
made of steel.

The other six are seven
inches long and made of aluminum. These
are actually aluminum nails that are used to hang rain gutters. You can buy them at the hardware store for
about fifty cents each.


I keep them
bundled together with one of those thread covered rubber hair bands.

Some small loops of para-cord come in handy for
certain set-ups. I carry six pre-made
loops bundled together with a hair band.


I carry four little
sticks that are pre-cut to about two inches long. These are used for tarp attachments and to
secure easy release knots (more on this later).

All of the lines, stakes, and etc. are stored in a
small stuff-sack.

The last item in my kit is a piece of camo netting
that I can drape across the front of my shelter to help conceal it.

So, that’s my tarp kit. In subsequent posts I will show you how to
make several tarp set-ups using the items in this kit.

