Pages

Friday, April 10, 2015

Every Prepper Should Own a French Coffee Press


If you drink coffee, tea, or herb tea; the French coffee press is the most prepper friendly device for preparing it.  I used to think that a French press was something that was just for coffee snobs, but then my wife, who is kind of a coffee snob, brought one home.  I immediately saw how wrong I had been.  The French press is such simple and effective tool that I went out and bought another one to put in my back-up supplies.

How does a French press work?  It’s basically just a glass cylinder with a lid on it.  In the middle of the lid is a hole.  Coming up out of the hole is a plunger, and on the bottom of the plunger is a fine mesh screen that fits down inside of the cylinder.  That’s it.  Only one moving part, no electricity required, and no coffee filters.  What could be better for a prepper?

Here’s how you use it.

Take the lid off and pour your ground coffee into the cylinder.  I use three heaping tablespoons to make about a quart of coffee.

Put your kettle on the stove or campfire and get the water boiling.

Pour the boiling water into the cylinder, filling it to about an inch-and-a-half from the top.

Stir the coffee grounds a little to get them distributed evenly in the water.

Pull the plunger on the lid all the way up and put the lid on the cylinder.

Now the hard part, let the coffee steep for four or five minutes.

After five minutes push the plunger down.  The screen will push all of the coffee grounds to the bottom of the cylinder and hold them there.

Pour yourself a cup of hot coffee.

It’s just as easy to make herb teas with the French press.  In the pictures below I’m using some fresh mint from my mint bed to make a quart of nice, clean, mint tea.

If you don’t have a French press, get one.  In fact get two of them.  There may come a day when you wish that you had one.

Friday, April 3, 2015

Avoid Confusion with a Garden Journal


When I was working as a teacher it was easy to keep up with my garden.  I planted in the spring and harvested when things were ready.  I didn’t plant anything in the summer or fall because I wouldn’t have time to deal with it after school started back.  Simple.

Now that I’m retired I garden year-round and it gets kind of confusing as to what varieties I’ve planted, when I’ve planted them, when I’ve started seed pots, etc, etc, etc.  So, to help me keep up with it all; I decided to start a garden journal.  It’s nothing fancy, just a three-ring binder with a spiral notebook inside.  


 I have four sections in the notebook.

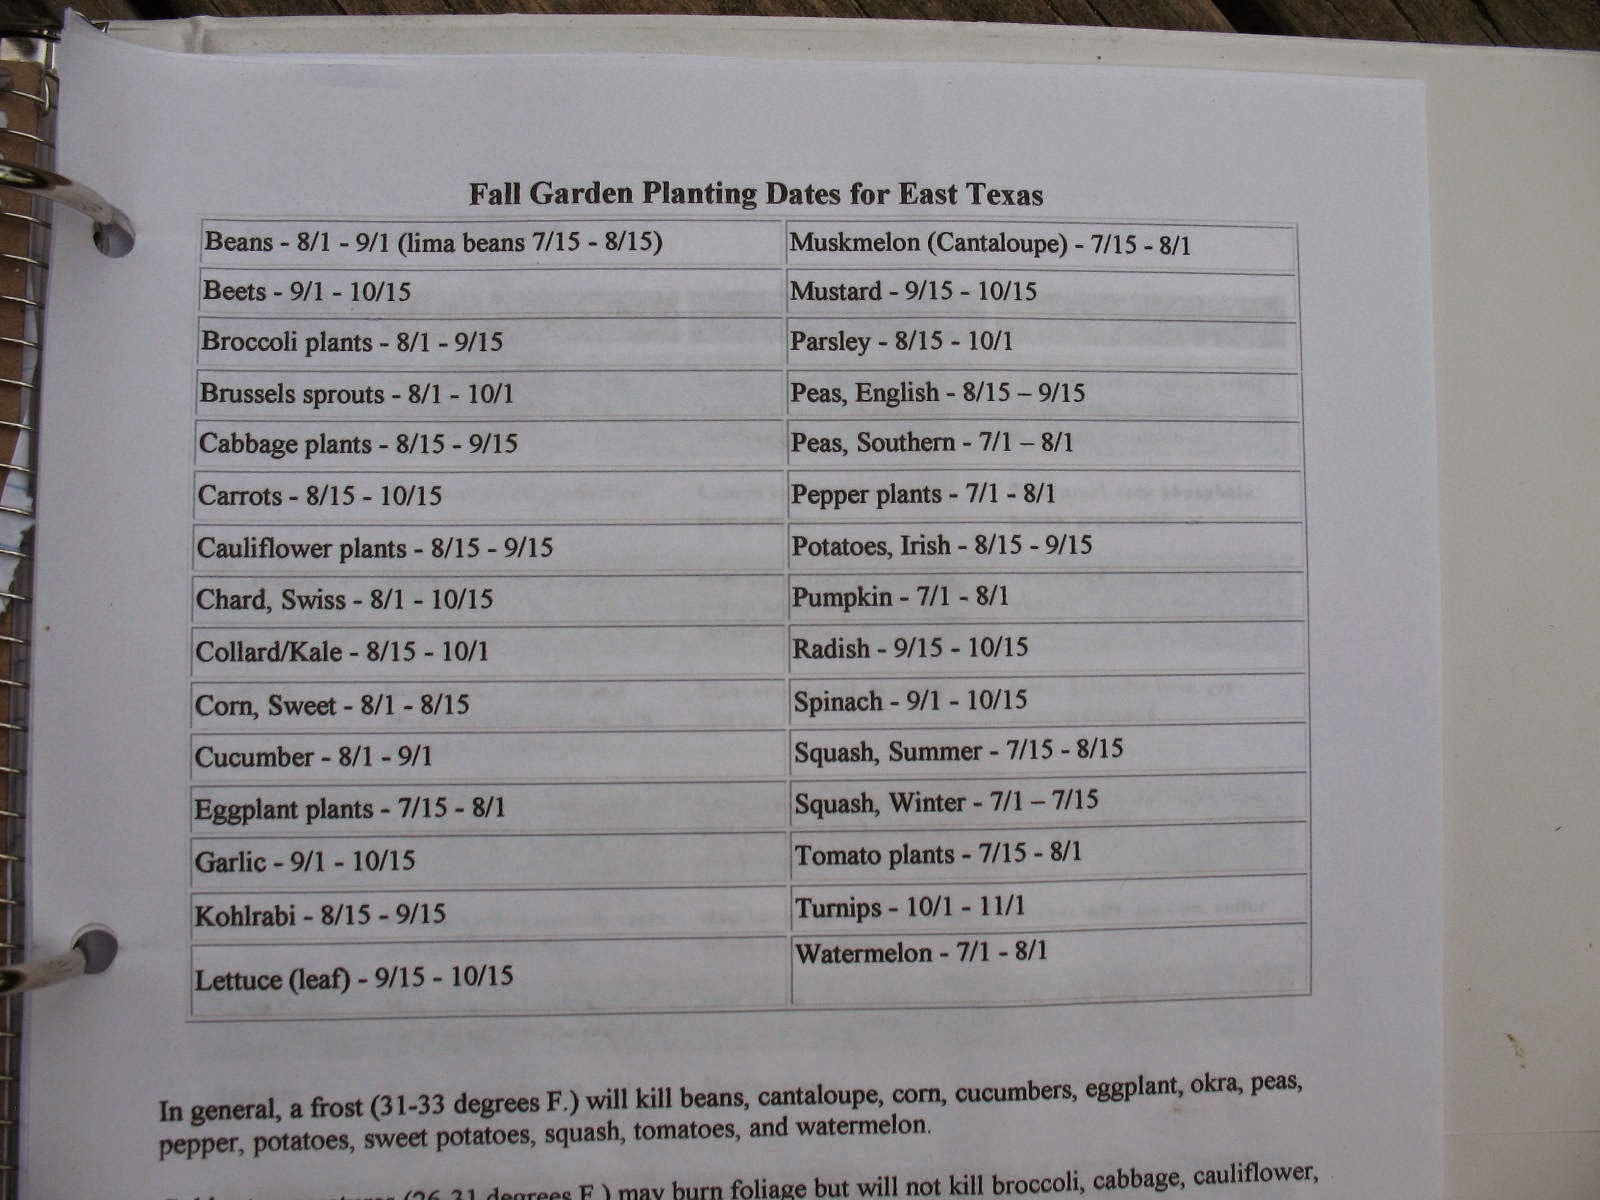
In one of the inside pockets I keep my planting guides.  I have three of them.  One is from the agricultural extension service, one is from the local garden club, and one is from a local feed store.  You would be surprised at how much variation there is in planting dates.  I actually took the information from all of them and then made up my own chart where I tried to hit the sweet spot by averaging the dates on the three others.

In the other pocket I keep print-outs from the extension service on how to care for plants that I have not planted before.  For example; in the last year I have planted asparagus, strawberries, blueberries, blackberries, figs, and almonds.  I have sheets on all of these telling me when to prune, when to fertilize, when to harvest, etc.

In the spiral notebook I keep a day to day record of what varieties I have planted, when I planted them, when they sprouted, etc.  I also include a scale drawing of my garden and where everything is planted.  This helps me rotate crops, and plan my companion planting.  I will update the garden diagram in mid-summer and fall as I replant.


The final thing I keep (or will keep, since I haven’t started harvesting yet) Is a detailed list of the yields that I get from the garden.  It should be a simple matter to drop each basket of produce on my scale and jot it down on the list.  I will be very interested to see exactly how much I harvest of each crop.