Pages

Friday, October 28, 2011

Primitive Tools - Sanding and Smoothing Tools

There are occasions when you may need to smooth out a surface and a scraper won't do the job. You might, for example, be trying to remove the joint ridges from a cane arrow shaft. If you use a scraper to do this you will find that the scraper wants to remove material from the area between the joints as well as from the joint ridges. If you use a sandinging stone you will be able to sand the ridges down so that they are even with the surrounding material, and you will end up with a nice smooth arrow shaft. Pictured below: top, sanding stone and cane shaft with rough joint; middle, using sanding stone on joint; bottom, sanding stone and smoothed out cane joint.


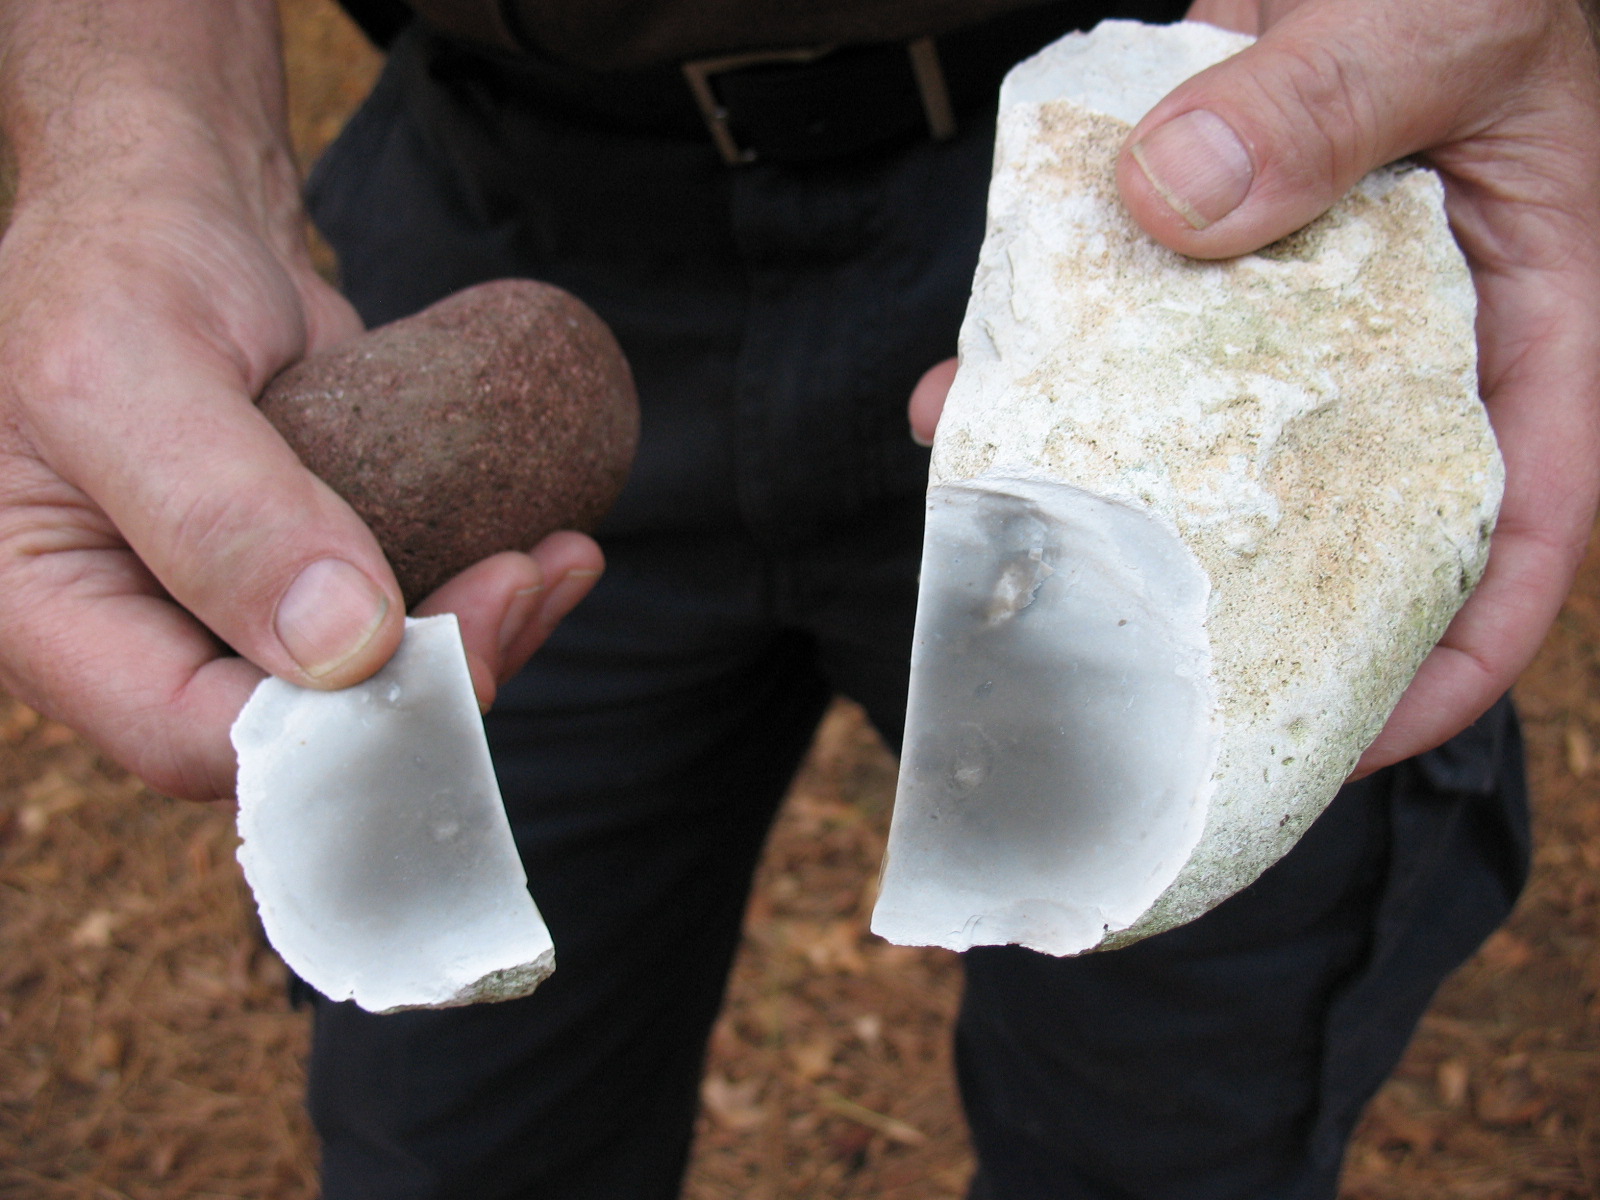
You really don't have to make any kind of modifications in order to "make” a sanding stone; you just have to carefully select the right stone for the job. If you can find some river rocks you will probably find several that will make good sanding stones. Select several stones that are hard and have a fairly flat surface on one side. Look for various different degrees of coarseness in the stones. A coarse grade stone that will remove a lot of material can be used to rough out materials. Finer grades of stones will give you a smoother finish. If you can't find hard river rocks like granite, or basalt; softer rocks, like sandstone will work but not as well. Sandstone will work on wood, but it will not work very well on bone. Pictured below, three different grades of sanding stones.

Sometimes you will want to give a very smooth and hard surface to something that you are making, like a hardwood arrow shaft. You can achieve this super smooth and hard finish by a process called "burnishing". A piece of smooth bone is one of the best burnishing tools that you can use. If you can find a good deer leg bone, that's all you will need. You don't have to modify the bone in any way. Pictured below: Deer leg bone and hardwood shaft.

To burnish an arrow shaft you take the bone in hand, press it down hard on the wooden shaft, and rub. This will compress the wood fibers and give you a hard shiny surface on your arrow. This is important on an arrow because it creates a smooth surface to slide across your hand, and because the surface is harder it will be less vulnerable to nicks and scratches. Pictured below: Using bone to burnish hardwood shaft.

Monday, October 24, 2011

How to Make a Stone Hand Saw

First of all when I say we are going to make a stone saw I’m not talking about a saw that we can cut lumber with. I am talking about a small hand held saw that can be used to cut off arrow shafts, cut a nock in an arrow, saw through a small bone, saw a notch in a fire board, etc.

To make a stone saw you will need a flake of flint or chert and a tool for removing some smaller flakes from the large flake. This flaking tool can be a piece of bone, a tine from a deer antler, an old nail, a screwdriver, a strong hardwood stick, or anything else that is harder than the flint and has a narrow point. Pictured below: top, front view of flake that will become a saw; middle, side view on the same flake showing how it tapers to a good edge; bottom, flint flake and deer antler flaking tool.


Most flint knapping is done by holding the flake to be knapped in a leather pad in the hand. Since you are unlikely to have a leather palm pad in a survival situation, you can lay the flake down on a log and hold it in place with your fingers while removing flakes. When you have the flake positioned so that you can work on it, take your knapping tool and remove a series of small flakes from the edge of the large flake. You want to skip a little space between each small flake so that you leave a series of jagged points on the edge of the large flake. These jagged points will be the teeth of your saw. Pictured below: top, removing a series of small flakes from the edge; bottom, finished hand saw showing the jagged teeth on the edge.


That’s it. You’ve just made a hand saw. Pictured below: series of pictures showing how the hand saw can be used to cut through a turkey wing bone.


Thursday, October 20, 2011

How to Make a Flint Scraper

Flint or chert can be used to make a nice scraper. A scraper is used to smooth a surface or to remove small amounts of material from wood or bone. Scrapers are also used to remove flesh and hair from hides to make rawhide or to prepare hides for tanning. The blade of the scraper is held at a ninety degree angle from the surface being worked.

All you have to do to make a scraper is knock a good flake off of a piece of flint, chert, or even glass. If you have already made a hand axe you will probably have several flakes that will work as scrapers. Pictured below: top, flakes that were produced while making a hand axe; middle, front view of scraper made from Arkansas flint; bottom, side view of the same scraper.


Scrapers can be large or small depending on the job at hand. One word of caution about scrapers; you do not want the blade to be too thin. A thin blade will crumble or break when you use it. Pictured below; series of pictures showing the scraper being used to remove bark from a yaupon holly stick.


In the next post we will learn how to make a stone hand saw.

Sunday, October 16, 2011

How to Make a Stone Hand Axe

A hand axe is a piece of roughly shaped stone that can be held in the hand and used to cut down saplings or to cut limbs off of trees. The hand axe is a good basic tool that can be used to make other tools, and the hand axe is easy to make.

All you need is a good flint cobble and a hammer stone. Obsidian does not make a very good hand axe because it is too fragile. The first time that you chop into a tree with an obsidian hand axe, the blade will probably crumble. So find a good piece of flint or chert. I try to find a whole cobble so that the back of the hand axe, the part that will be in my hand, does not have any sharp edges. Pictured below: a flint cobble, also referred to as a flint nodule, and a hammer stone

Now hold the cobble in one hand and strike downward on the other end of the cobble with your hammer stone. This should take a nice flake off of the cobble. Pictured below: top, preparing to strike off the first flake; bottom, first flake removed


Next turn the cobble over and use the same technique to knock a flake off of the other side of the cobble’s point. Pictured below: second flake removed

You should now have the beginnings of a crude edge to your hand axe. Keep taking flakes off of first one side and then the other until you have formed your hand axe. Pictured below: Finished hand axe.

One of the nice by-products of making a hand axe is that you will have a nice assortment of flakes left over with which you can make hand saws, scrappers, drills, and arrow points. Pictured below: left-over flakes from shaping the hand axe

When you have completed your hand axe try cutting down a green sapling. You will be surprised at how quickly you can do this. Pictured below: series of pictures shows a green, two-inch, hardwood sapling being cut down with the hand axe


The total time to cut down the sapling was four and a half minutes. Not as fast as a steel axe, but a heck of a lot faster than you could cut it with a pocket knife, and that’s if you have a pocket knife.

Tuesday, October 11, 2011

How to Make a Primitive Stone Flake Knife

Today you can buy some beautiful stone knives. These knives are made of obsidian or flint and have long beautiful blades. Only a really first rate craftsman can make one of these. I have a great one myself that was a gift from a friend. Pictured below: Beautiful but impractical long bladed flint knife.

The problem with these knives is that they are very brittle and easily broken. For this reason most primitive knives, with the exception of a few ceremonial knives, did not look anything like these works of art. Most stone knives looked more like slightly lop-sided arrowheads.

A good example is the knife carried by the “Ice Man”, a late stone-age man who was found frozen in a glacier in the Italian Alps. The Ice Man knife had an overall length of five inches. It is described as looking like an “arrowhead” that has been wedged into a split wooden handle and secured with animal sinew. Pictured below: The Ice Man’s knife.

The Ice Man’s knife is not an exception but is, rather, the rule. There are hundreds of examples of these small stone knives that have been found at archeological sites around the world.

I have made a couple of these stone knives and have found that they work well. They are plenty sharp and pretty sturdy. Pictured below: A stone knife that I made.

But some of the most commonly used stone knives are overlooked because they look like nothing more than a flake of stone. If there is any flint, obsidian, chert, glass, or other knappable stone around, you can make a flake blade in seconds. It requires no tools, except another rock, and it requires no flint knapping skill. This makes the flake knife an ideal survival tool. And don’t think that a flake blade is a second rate tool. They are sharper than surgical stainless steel and can skin and butcher a deer as fast as any modern knife.

To make a flake blade you will need a fist size piece of flint and another rock to hit it with. Your striking stone, called a hammer stone, should not be flint because it will shatter. Most sandstone is not very good because it is too soft. I like to use a granite river rock. Sometimes they break, but they usually won’t shatter and throw rock splinters into your eyes. Needless to say when you are practicing this skill you should always wear safety glasses. Pictured below: Hammer stone and piece of flint.

Now, let’s make a flake blade. Hold the flint rock in one hand, then take the hammer stone in your other hand and strike down on the edge of the flint rock. With any luck a nice flake will pop off. Pictured below: top, striking the flint rock; bottom, resulting flake.


Be careful. The edge of this flake is sharper than a razor blade. Pictured below: Using a flake blade to slice meat.

The flake blade can be used to carve wood, but it is not as effective as a steel blade for this. The edge of the flake blade is extremely sharp but it is pretty fragile, and heavy whittling will likely cause the edge to crumble. For removing wood and shaping wood a flint flake is more often used as a scraper rather than a cutting blade.

Wednesday, October 5, 2011

Garlic - The Ancient Wonder Drug

I raise a bed of garlic every year. I grow white hard-neck garlic, which cloves; and elephant garlic which is a single bulb. The elephant garlic grows like a weed. I have actually pulled elephant garlic while thinning the bed, and thrown it out in the woods. I now have patches of garlic growing in the woods where it has rooted, grown, and reproduced. The hard-neck garlic looks like what you buy at the store. For a new crop each year you just save three or four bulbs, separate them into cloves, and plant the cloves in the late fall. By the way, cultivated garlic is only vaguely like the wild garlic plants of the allium family. The original garlic plant has been selectively bred for about 5000 years until it now bares no resemblance to the original plant

Garlic is a great spice for cooking, but did you know that it is one of our most potent herbal medicines? Garlic is a natural antibiotic, and it has a very positive effect on the circulatory system. Garlic does its work best if it is consumed as part of the daily diet. It will help strengthen the immune system, lower blood pressure, and help keep the arteries free of plaque build up. One clove of garlic per day is the recommended dose, so plant a lot of garlic. If you can't stand the taste of garlic you can buy garlic capsules or coated garlic pills, but these won't be available if the economic and transportation structure falls apart.

Here is a partial list of the complaints for which garlic has been historically used to help prevent or cure:

Strengthen the immune system
Lower cholesterol and triglycerides
Fight infections
Reduce blood pressure
Prevent fungal skin infections
Help prevent intestinal parasites
Repel insects which may carry diseases like malaria, lyme disease, West Nile virus etc
Help prevent pneumonia
Help prevent strokes

During World War I (before the use of penicillin or sulfa) the British government bought tons of garlic for use in treating battle wounds. Garlic juice was squeezed directly into wounds to help prevent infection. If the skin became irritated from direct contact with the garlic, the cloves were mashed, placed in gauze, and used as a poultice.

Of course there is no replacement for professional medical care; but if you are in a survival situation, and medical help is not available, you might want to consider garlic as an alternative treatment. In modern, everyday life, garlic will certainly do you no harm; and it could help prevent many medical complaints.