Pages

Saturday, October 17, 2015

Make a Saxton Pope Style Broadhead


For those of you who aren’t familiar with him, Saxton Pope is the fellow who re-introduced traditional archery to North America in the early 1900’s.  He and Art Young (Pope and Young, get it) are basically the fathers of all that we do in the way of traditional archery today.  Any how, I was reading his book, “Hunting with Bows and Arrows last week and came across an illustration of how he made his broadhead hunting points.  I couldn’t believe it.  He was making points nearly the same way that I started making them when I was twelve years old.  Of course Pope was making broadheads this way because there was no archery tackle in those days.  I was making them this way because I was twelve years old and there was no money in those days.  So my archery buddies and I would buy wooden target arrows for thirty-nine cents and then use a little scrap metal and my dad’s shop to turn them into hunting arrows.  I still make broadheads the same way today.  I just think they look better than the three blade glue-on broadheads and, of course, the fact that they cost about a twenty-five cents apiece doesn’t hurt either.

Here’s how I make them:

First I make an arrow just like one of my target arrows except that I use five inch fletchings instead of four inch.  I fit the head of the arrow with a target point attached with hot glue.  I use Easton Scout target points that you can get on eBay pretty cheap.

Next, I take a triangular file and file a small starter groove in the top of the point.  You want to make sure that this groove is exactly parallel to the string nock on the back of the arrow.


Using a hacksaw I cut down into the point to just below where the taper on the front of the point ends.  I run a folded piece of 80 grit sandpaper through the cut to remove burrs.


Now I use a heat gun to heat up the point and a pair of pliers to pull the point off.


Then I take my hacksaw and continue cutting the slot in the shaft until it is almost down to where the bottom of the target point will come when I glue it back on.

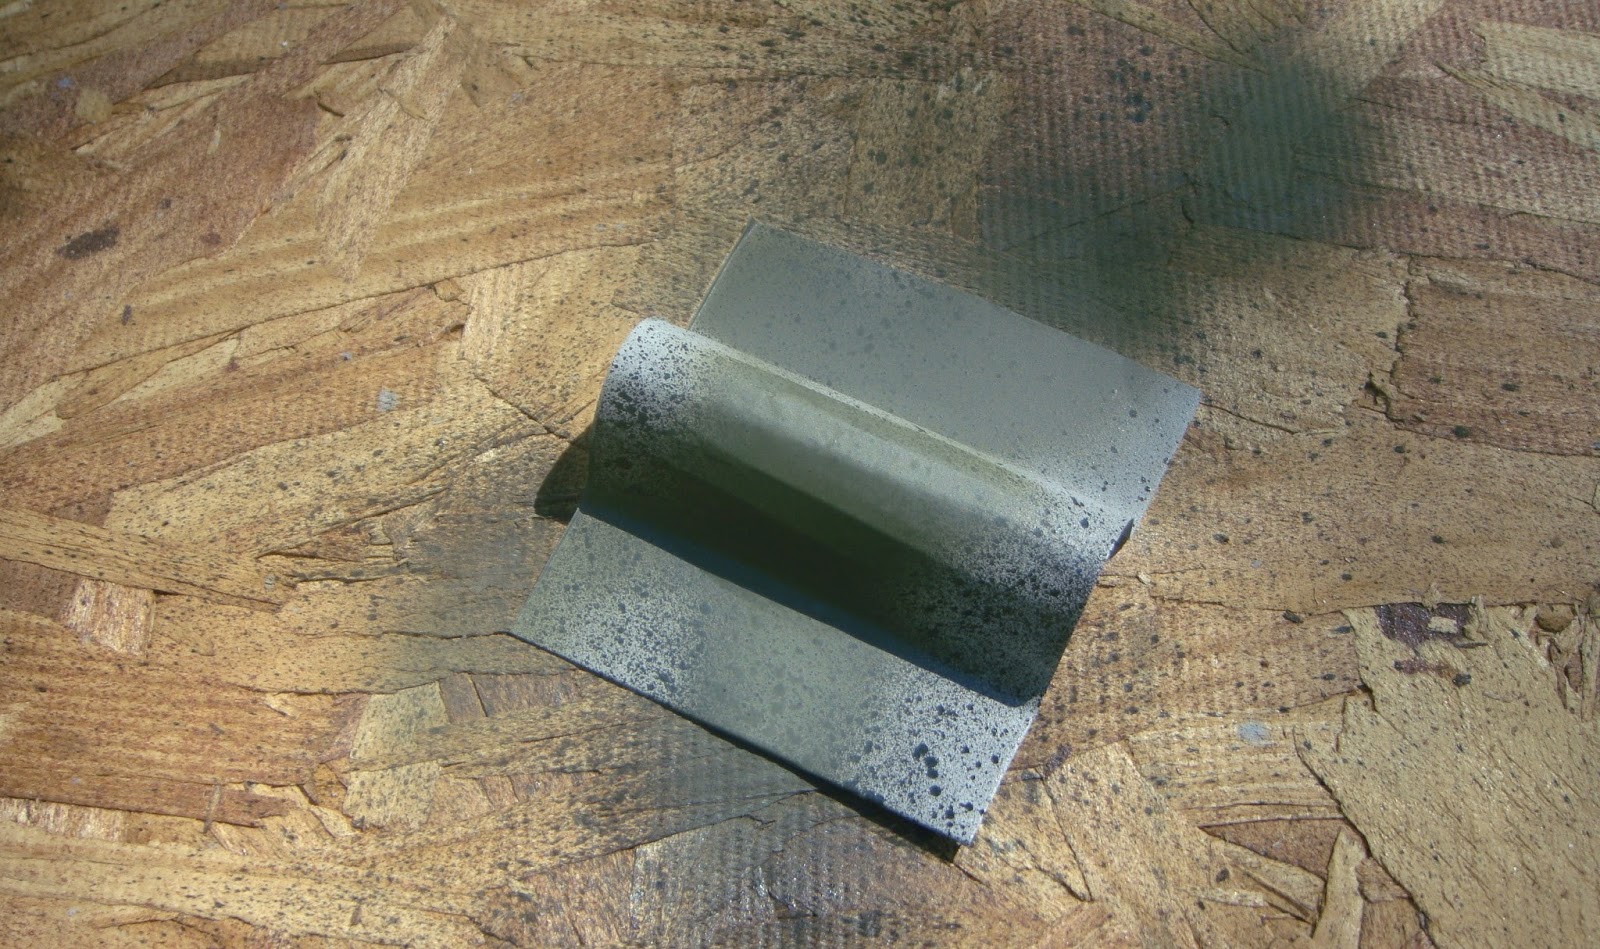
The broadhead blade is cut out of a piece of steel sheet that is a little less than one-sixteenth inch thick.  It is about the thickest that I can cut using heave tin snips.  Make sure that when you lay your pattern out that the blade will be wide enough to comply with local hunting regulations.  In Texas the finished blade will need to be a minimum of 7/8 inch.  Yours may be different.


A file and sandpaper are used to finish up the blade.

When the blade is finished I push it down into the slot that I have cut in the target point.

Now the broadhead is pushed back onto the shaft.  The tang inside of the target point will fit on down into the shaft where I have slotted it.

I drill a small hole that goes through the target point, the shaft, and the blade.

Then I push a small brad through the hole and cut the end of it off with wire cutters.  I leave about a sixteenth-of-an-inch of brad sticking out.

With a ball peen hammer, I peen down the raw end of the brad to make it a small rivet.

Voila, a target point and some scrap sheet steel have now become a hunting broadhead.


Note that Saxton Pope made his broadheads with barbs on the back; something that is now illegal in some areas.  Also, his broadheads were enormous; as much as three inches long.  Of course he was often hunting very large game including elk and bears.

Monday, September 21, 2015

Build a Portable Blind for your Deer Stand


Deer season is coming up, and I wanted to build a blind to hang around my deer stand.  I looked around the shop to see what I had on hand, and then I set to work building.  The finished blind was built from about 90% recycled scraps and pieces, and I think the end product does a pretty good job of concealing me from my quarry.


These are the tools and materials that I used:

Tools

Hacksaw
Electric Drill and bit
Measuring tape
Pencil
Hammer
A few nails
Scissors
Straight pins

Materials

One joint (20 feet) of ½” PVC pipe
One ½” PVC “T”
Four ½” PVC 90’s
Some PVC glue
A small piece of sheet metal about 3” x 6”
Three partial cans of spray paint (I had some black, green, and gray in the shop)
Two pieces of camo netting
Three old burlap sacks (feed sack size)
Some permanent fabric glue

My finished blind is about 46” x 46”.  If you make yours any bigger you may want to step up to ¾” PVC to support the additional weight.  I made the curtains for the blind out of stuff that I already had around.  Your can make your curtains any way that you want depending on what materials you have access to. This is how I put the blind together:

First I cut my ½” PVC into lengths. Three pieces 44” long, two pieces 21 5/8” long, and one piece 51” long. 

I cut one end of the 51” piece at a 45 degree angle and drilled a ¼” hole in the part sticking out.

Next I glued the PVC “T” onto the flat end of the 51” piece.  You want to do this so that when the “T” is lying flat, the angle on the other end is up-and-down and not sideways.  This is the only joint on the frame that I glued.  The rest of it just fits together by friction.  That way you can disassemble the frame for easy transport and storage. 

Now it’s a simple matter of snapping the framework together.  What you end up with is a square with the “T” joint on the front and the 51” piece angling up at about 45 degrees.  The angled piece will act as a brace that attaches the front of the frame to the tree.

I used my spray paint to paint a camo pattern on the framework.

The back of the square framework will be held to the tree using a bracket made from the 3” x 6” sheet metal.  To form the bracket I used a short piece of PVC and bent the sheet metal into a “U” shape to fit over the PVC. 


I gave the bracket a coat of spray paint to make it less visible.

Now on this next part I had a little help from my wife.  She took the two pieces of camo netting, folded down about four inches along one edge, and ran it through her sewing machine.  This made a kind of sleeve that fits over the PVC like a curtain goes over a curtain rod.

Okay, we’re ready for a little test assembly.  I set the blind up on the ground to see if it would hold together the way I hoped.  If everything is good, I will finish up the curtains and climb up into my deer stand for final assembly.

First I nail the bracket to the tree with the back cross piece in place.

Next I put a PVC 90 on each end of the cross piece and then push the side pieces into the 90’s.

Now I add 90’s to the front of the side pieces, and then shove a short front piece into each of these 90’s.

I thread the curtains onto each side of the framework.

Then I shove the free ends of the front pieces into the PVC “T”.

Next I drive a 16 penny finish nail into the tree to hold the top of the angle brace.

Lift the whole works up and slip the hole in the top of the angle brace over the nail that I have driven into the tree.

Everything looks good, so I disassemble it and put the finishing touches on the curtains.

I cut the side a bottom on my burlap bags and lay them out on a temporary table.  Then I use my spray paint to pain a camo pattern on the burlap.

I take scissors and cut the burlap into strips about two inches wide.

I hang my netting up on a rope and pin the burlap strips to the netting.  I pin the strips about an inch below the top.

Then I run a bead of fabric glue along the top of the strip and put another pin right on the spot I glued.

I let the glue dry over night.  The next morning I pulled all of the pins out, and the burlap seemed to be firmly attached.  I took the whole outfit down to my deer stand, climbed up, and put it all together.  I think this will be a big help in my hunt this year.


Sunday, August 30, 2015

Start Your Own Seed Bank


There is probably no better way to store food for the long term, than in the form of seeds.  Seeds are just amazing.  I did at little project this year to see just how much food seeds would produce.  I planted 50 pole bean seeds of one variety.
When I harvested the beans I weighed 100 of them and then I weighed the entire harvest to get an approximation of how many beans I produced.  My fifty original seeds produced over 3200 beans.  Just amazing. 

I planted six tomato seeds that were so light they wouldn’t even register on my digital scale. 
These six seeds produced over 80 pounds of tomatoes.  So storing seeds is a very compact way of storing food.  Of course the food is not instantly available, but if you can survive for up a year on stored food, your stored seeds will make you self sufficient from that point forward.

As I have stated elsewhere in this blog, I only plant non-GMO, non-hybrid, heirloom seeds; and I save seed to replant.  Even though I follow this path faithfully, I still think it is a good idea to have a long term seed bank.  My seed bank acts as a back-up to the seeds I save each year, plus the seed bank is small and easily portable.  In other words if I have to get out of Dodge, I can grab my seed bank and take it with me.

The concept of a seed bank is not just a crazy prepper idea.  Many of you have probably heard of the Svalbard Global Seed Vault, often referred to as the “Doomsday Seed Bank.”  For those of you who haven’t, the SGSV is a vast storage of seeds of all types from all over the world.  The seeds are stored in an underground concrete bunker complete with blast doors and motion detector security.  It is located in northern Norway on an island that is about 800 miles from the North Pole.  The island was chosen because of its cold temperatures, its lack of earthquake activity, and its elevation above sea level.  The project is funded by the Bill and Melinda Gates Foundation, the Rockefeller Foundation, Monsanto and several other agri-biz giants, and other assorted organizations.  The purpose of the Svalbard Seed Vault is to preserve seeds of various plants that might be destroyed in regional or global disasters.  Scary stuff.

Somehow, I don’t think I’m on the mailing list to receive any of these seeds if there’s a global disaster, so I decided to follow their lead and put together my own seed bank.  What I did is spent about $40 on various different varieties of heirloom seeds that I know grow well in my area and that I have had experience raising.  I took these seed packets and sealed them in zip-lock freezer bags, placed them in a sealed Sterilite container, threw in a few oxygen absorbers, and stuck the container in my freezer. 


The seeds should keep this way for at least 10 years, probably much longer.  There is plenty of information on freezing seeds on the internet.  As usual some of the info is good, and some is not so good.  You’ll just have to decide who to listen to.  If it’s any consolation, I will tell you that I know personally that you can plant beans and field peas that have been in the freezer for 10 years. 

I have noticed that several companies sell pre-packaged survival seed collections for long term storage.  You could go this route, but I think you would be better off selecting seeds that you have experience with and that are specific to your growing climate.  Just make sure that the seeds you store are non-hybrid, heirlooms.