This is a fun project all on its own, but it is also the
first step in making a primitive backpack.
After we have made a target hoop I will do a post on how to take two of
them and turn them in to a very effective backpack.
Target hoops were used by Native-American boys to practice
their hunting skills. The hoops were
rolled across the ground or tossed up into the air, and the boys would try to
shoot an arrow through the hoop. The
target hoop is basically a hoop made of wood with a rawhide netting woven into
it. It looks very much like what most
people know as a dream catcher. Pictured
below: Dream catcher and target hoop, look a lot alike don’t they?

Since I have never seen any historical documentation of
dream catchers prior to 1900, I have often wondered if some white man didn't
see a target hoop hanging in a teepee somewhere and when he asked what it was
he was spun some yarn about how it was there to catch bad dreams. Who knows?
Anyway, this is how you make a target hoop.
First we'll make the wooden hoop. For this we will need a nice flexible
sapling. Willow was commonly used for this purpose,
but any kind of sapling will do. Since
we are going to eventually turn this into a pack, we will make our hoop a
little larger than the traditional ten or twelve inch target hoop. Cut a sapling that is about as big around as
your index finger at the base and about five feet long. This will give you enough length to make a
hoop that is about sixteen inches in diameter with a foot of overlap. You can leave the bark on or take it
off. Since I'm going to keep this one
for a while I'm going to go ahead and take the bark off. While the sapling is still green and
flexible, go ahead and bend it into a hoop and tie it off. If you have time to let it dry for a few
days, that's good; but it's not totally necessary. Pictured below: Pealed sapling tied into a hoop

Now we need to weave in the netting. You can make the netting out of store-bought
cordage or hand-made cordage, but the traditional material was rawhide. I like to use rawhide because it is very
strong, and since it shrinks as it dries, it makes a nice tight hoop. Check my post of 12/19/2011 for information on
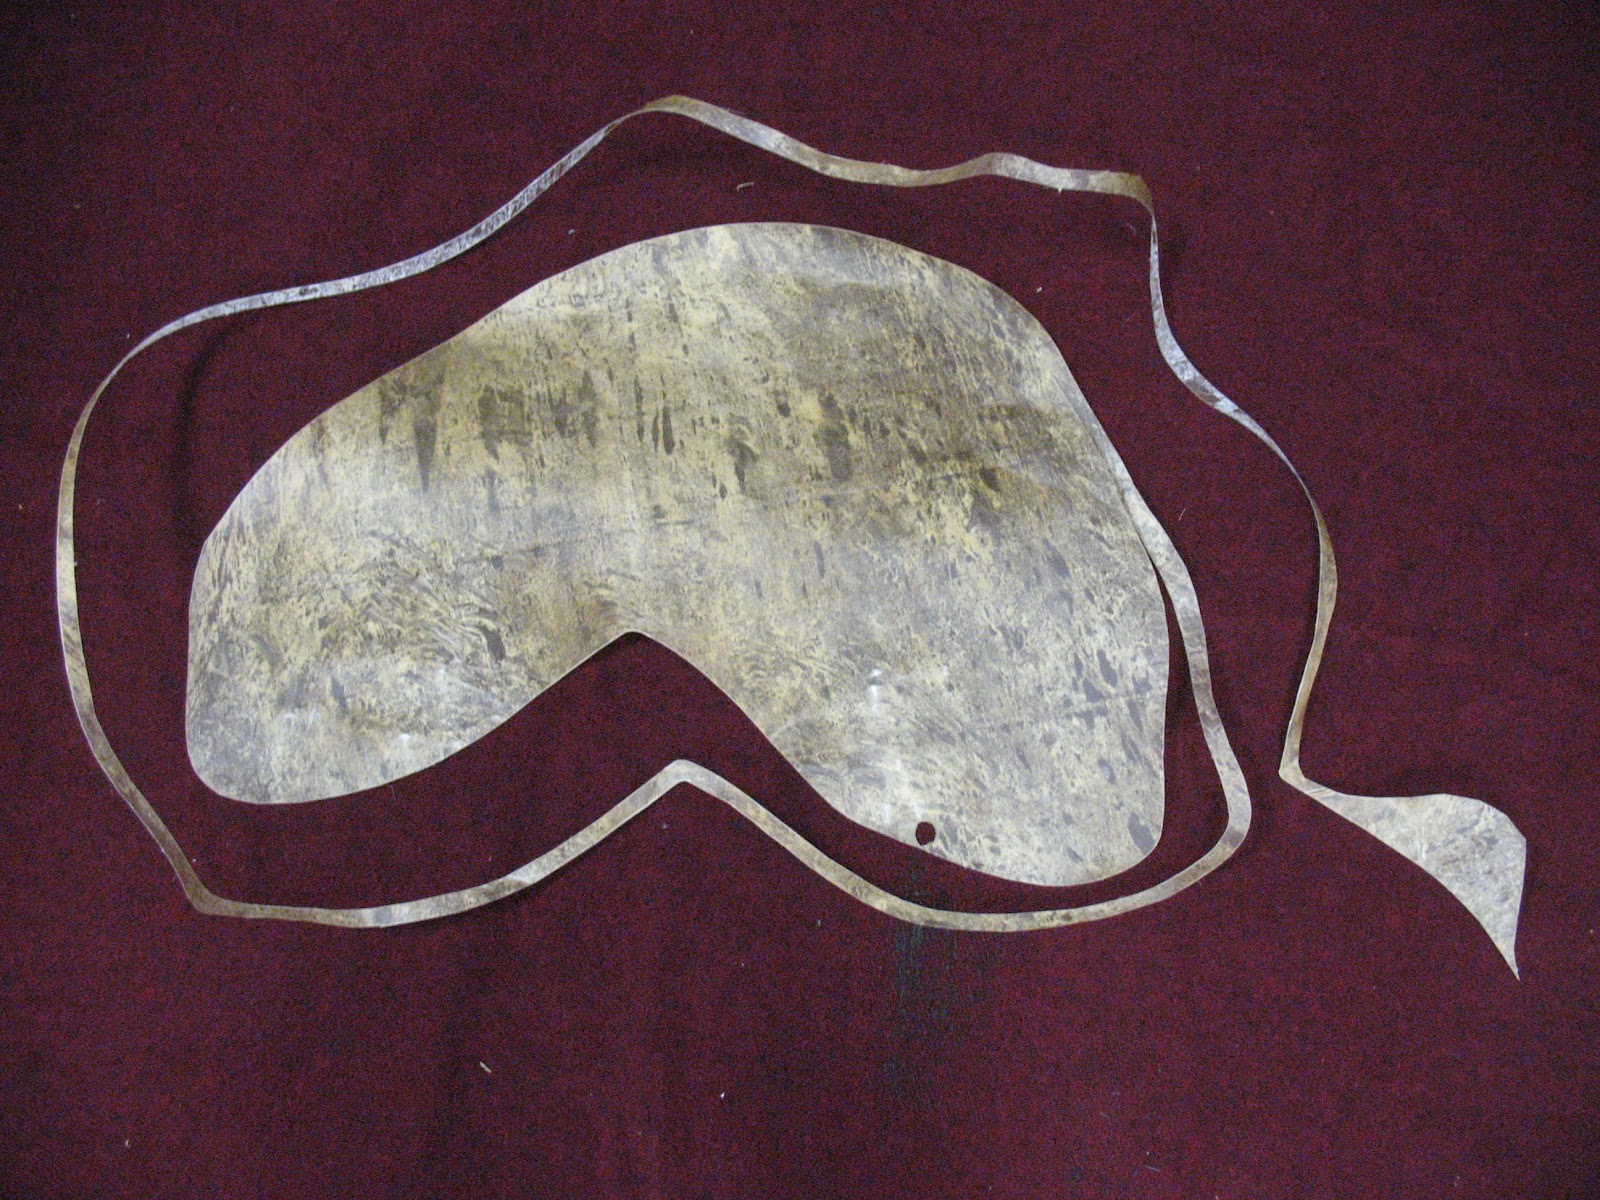
how to make rawhide. Pictured
below: Rawhide that is being cut into a
long thong. Notice how I spiral around
the edge to get the maximum length out of a relatively small piece of hide
After you have cut you rawhide lacing, soak it in water for a few hours to soften it. The rawhide will shrink when it dries and make your hoop tight and sturdy.
To begin the netting tie one end of your rawhide lace to the
hoop and then make a series of fairly tight loops all the way around the hoop. When you get back to where you started
wrapping, drop down and keep going. You
will be creating a series of diamond shapes as you continue lacing. The series of pictures below will show you
how to lace the rawhide better than I can tell you with words.
First course close-up

First course completed

Second course

Second course finished

Four courses finished

As you continue spiraling around you will notice that the
diamonds get smaller and smaller. When
the diamonds get too small you can do a row where you lace the thong through
every other diamond. Then go back to
lacing every diamond. Pictured below: On
this row I am skipping every other diamond

When you get to the middle of the hoop, tie the thong off,
and set the whole thing aside to dry over night. Pictured below: Finished target hoop

If you are going to
make a backpack, go ahead and make a second target hoop the same as the first
one, but make the second hoop a little more oval in shape. Pictured below: The two hoops that we will use to make our back pack


No comments:
Post a Comment