I’m not sure when the continuous loop bowstring came into
being. If I had to guess, I’d say it was
in the 1960’s when modern longbows were in their prime. If you buy a longbow today it will probably
be equipped with a continuous loop bowstring.
What are the advantages of a continuous loop bowstring? For one thing they are extremely strong. They are just one continuous loop of string;
no splices. The loops are not spliced in
as on a reverse-wrap bowstring, and you have the same type of loop on both ends
of the string. The continuous loop
bowstring is also one of the quickest and simplest bowstrings to make, probably
why they were so popular with mass producers of bows.
It takes a couple of pieces of equipment to make a
continuous loop bowstring, so if you only need one bowstring you are probably
better off to just buy one. I’ve seen
them in stores that carry traditional archery supplies for around $15.00 US. If you make a lot of bowstrings, it is far cheaper
to make the two simple pieces of equipment and make your own strings. This post is a tutorial on how to make one of
the two pieces of equipment that you will need.
In the next post I will show you how to make the other piece of
equipment, and in the third post we will go over how to make the actual string.
The first piece of equipment you will need is a serving
dispenser as pictured below.

Serving is a small cordage that is wrapped around the loops
to strengthen them and hold them closed.

Serving is also wrapped around the center portion of the
string to prevent wear at the point where arrows are nocked. You can buy a serving dispenser, but if you
have a few simple tools it is super easy to make one. All that you need is a small strip of light
gauge metal, some tin snips, a drill and drill bit, a bolt and wing-nut, and
four washers. I used a scrap of metal
and some odds-and-ends from my shop to build mine for zero dollars.
The first thing you will need to do is buy a spool of
serving thread so you can build the dispenser to the proper dimensions. I bought my serving at Academy. I’m sure that other stores carry serving, and
you can also order it on line.

My serving spool is two inches long.

The dispenser will have to accommodate the
length of the spool plus about an eighth of an inch of play on each end. In addition I will need to turn the metal up about
an inch and three-quarters on each end to hold the spool. With these dimensions in mind, I cut a strip
of metal 5 ¾ inches long by 1 ¾ inches wide.

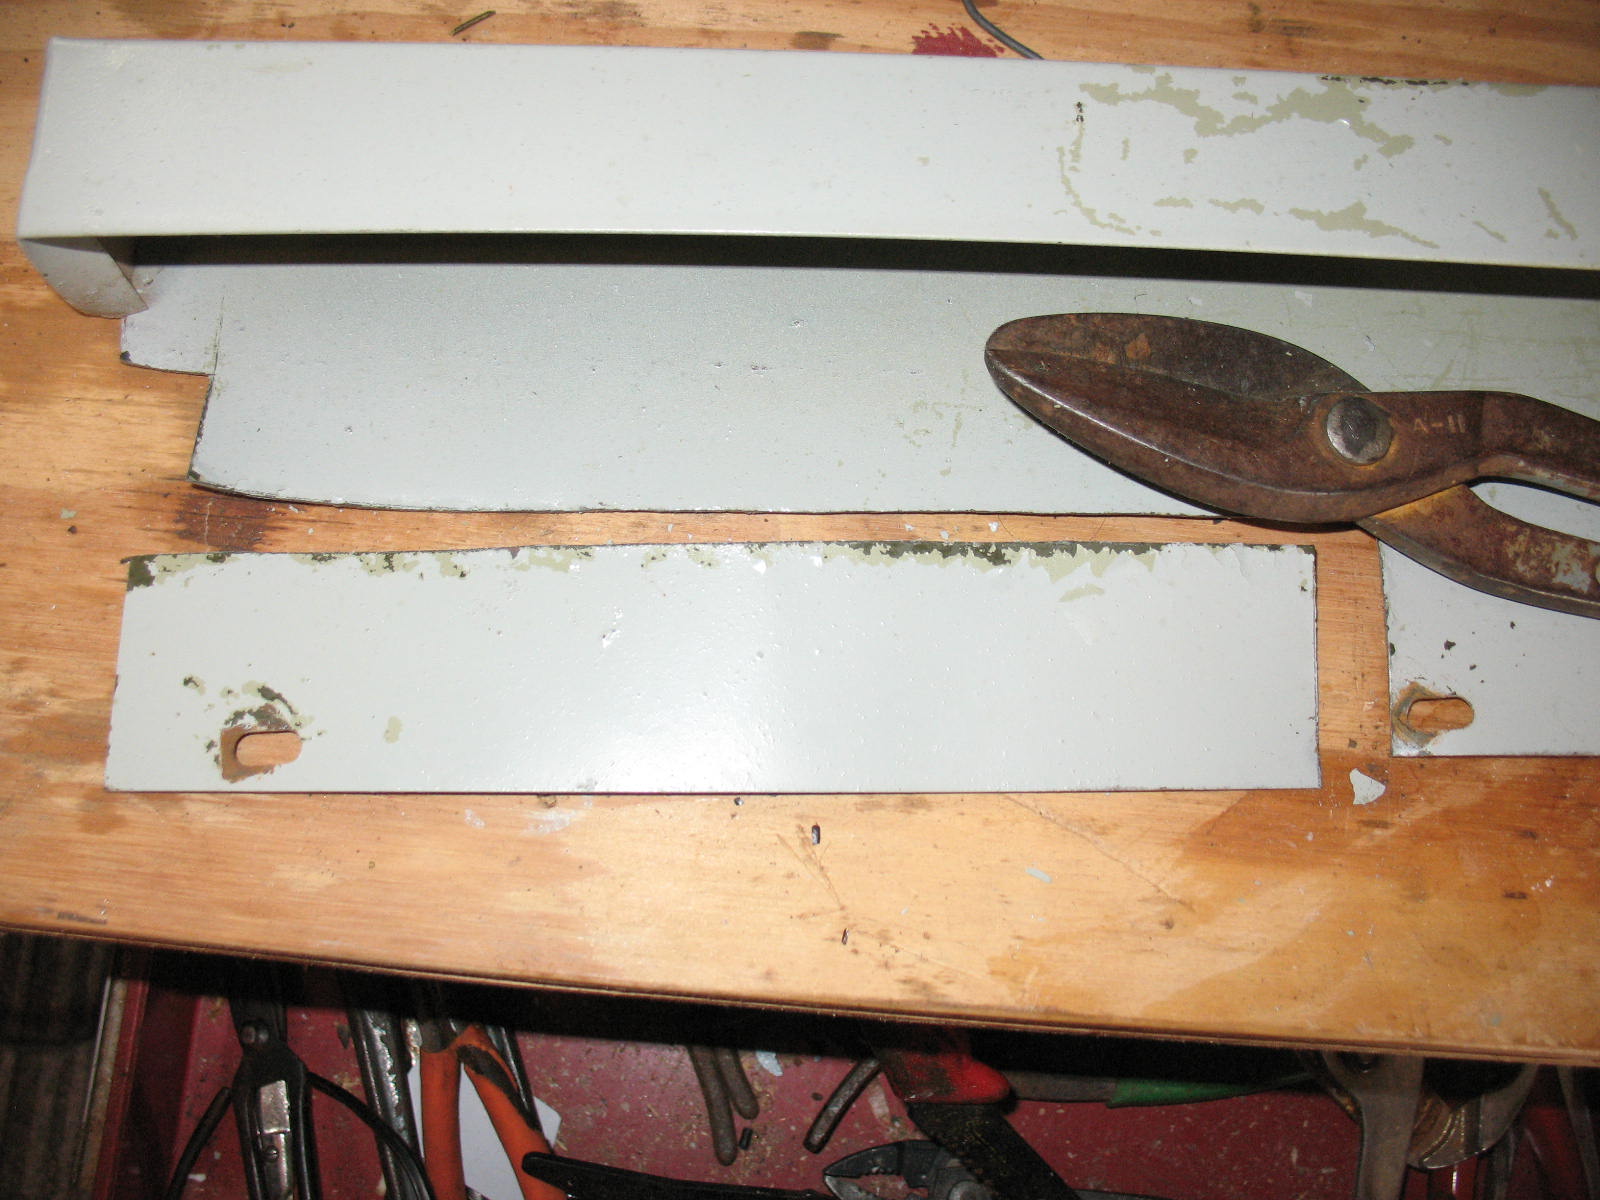
I used a ruler and laid out the strip into three sections; 1
¾” on each end and 2 ¼” in the middle.


I drew an X in each section to find the center.

Then I used a hammer and punch to make a pilot dent in the
center of each X.


Now we are going to drill some holes in the strip, but first
we need to get our other hardware together so that we can make sure that the
holes are the right size. You will need
a bolt that is long enough to go through the length of the spool plus about a
half inch. The bolt also needs to be
small enough in diameter to fit through the spool without binding.


When you find, or buy, the right size bolt, nut, and washers;
you will need a drill bit that is just a little larger in diameter than the
bolt.

Use this bit to drill a hole in each of the two end
sections, and drill a smaller hole in the center section.


The next step is to put the metal strip in a vice and bend
the end sections up at a 90 degree angle.
Actually, I bent them a little past 90 degrees, and then bent the tops
out a little by hand. This gives the
ends a slight bow so that the center of the ends will contact the spool better.


Use a file and/or sand paper to smooth out the holes and
remove any burrs. I gave my dispenser a
coat of silver spray paint, but this is not really necessary.

Now you’re ready to assemble the whole thing. First run your serving thread through the
hole in the center section.

Then use the wing-nut, bolt, and washers to mount the
spool. Put a washer on the inside and
outside of each end section.

Use the wing-nut to adjust the tension on the spool. The tension is right when a slight tug will
pull thread off of the spool; but when the dispenser is held up by the thread,
more thread will not slip off on its own.

In the next post we will build an adjustable string jig. Super simple.
It takes about 15 minutes.


2 comments:
Thanks
I have been wondering if anyone has done any experimenting on just how important a bowstring is with respect to bow performance. This is an amazing post you have here. The images make the whole process easy to understand. Here is another post on bowstring making: http://survival-mastery.com/diy/how-to-make-a-bow-string.html
Post a Comment