So now that we have our string jig and our serving dispenser
together, we can make a bowstring. You
can use many different things for the actual string. You can buy some B-50 Dacron that is
specifically made for bowstrings, but I prefer to use the waxed Dacron that is
sometimes referred to as artificial sinew.
It’s easy to find at craft stores and relatively inexpensive. It also has the advantage of already being
waxed. If you use B-50 you will also
need beeswax to rub on the string.

Now let’s get started.
My two starter dowels are glued permanently in place. I’m going to make a 60 inch bowstring, so I
set my two movable dowels with the tall one at 60 and the short one at 62.

To start the wrapping I tie the end of my Dacron string below
the cross pin of the permanent short dowel and then I bring the string over the
cross pin on the permanent tall dowel.
You can start on either side of the tall dowel.

Now I run the string down and loop it around the tall
movable dowel. You should be on the same
side of this dowel as you were on the permanent dowel. You don’t want your string criss-crossing in
the middle.

Keep a little tension on the string and run it back to the
permanent tall dowel and around. You continue this until you have as many
strands as you want in your bowstring.
If you want to make a bowstring with a total of six strands you will
continue looping the string until you have five strands on the side that is
tied to an end posty and four strands on the side that is not tied to an end
post. The reason for this will become
clear in a moment.

When you tie the end
of your string off at the finish, it must be tied to the opposite end from
where you started.

You now have two runs of Dacron that are separated by about
a ½ inch of space. It is time to apply
the serving to what will become the loops of our bowstring.

Measure to the center of the bowstring. Since we are making a 60 inch string, the
center will be 30 inches. Mark the
center and the measure out four inches to each side of center and make a
mark. We are going to apply serving to
each of these eight inch sections of bowstring.

To make it easier to work on each strand, place your string
spreaders in between the strands to hold them apart.

Being right-handed I always serve from right to left, so
that’s how the pictures show the process.
I start at the mark on the right side of the closest strand and loop my
serving around it. I leave an inch or
two of tail on the serving and wrap my loops over the top of it. It is important to lay your serving loops
right next to each other and to keep the serving tight.


Your serving dispenser should be adjusted so that a firm
pull will feed more serving out, but if you let the dispenser hang, it will not
let serving come out on its own.

When you have covered up about ¾ inch of the tail, you can
snip the remainder off. The wrappings
will not let the tail come loose.

Keep wrapping the serving around and around until you are
about ¾ inch from the far left mark.

At
this point you want to take a scrap of Dacron about two feet long. Fold it into a loop and hold it along the
bowstring as shown.

Now continue your wrapping, only now you are also wrapping
on top of the loop.

Keep wrapping until you go about a ¼ inch past your mark; and
then you can stop, reel out about six inches of serving and snip the serving
off with scissors. Be sure and keep
tension on the serving so that it doesn’t un-spool when you cut it.
Now take the end of the serving and stick it through your
loop of Dacron.

Pull on the loose ends of the loop, and the end of your
serving will be pulled back under the wraps.
Snip any excess off, and the wraps will hold the, now hidden, end in
place. You have to pull pretty hard on
the loop ends, and it will probably compress the loops of serving back up the
string. This is why you go about ¼ inch
past your mark before ending the serving.


So now you have one section of serving done. Turn your jig around so that you are working
from right to left again and do the same thing to the other strand.

Now it’s time to cut the ties loose from the short dowels
with a pair of scissors.

When you have snipped the string loose, lift it up so that
it exposed all the way back to the serving.
Now take your scissors and cut off the string right at the edge of the
serving. Be careful not to cut the
serving or any other strings. Do the
same thing to the other tied off string.

Now you can slip the bowstring around on the dowels so that
the served area is around the dowels on each end. Off-set the ends of the serving about an inch
or so as shown in the photo.

Now we can form the loops.
All that you have to do to make the loops is squeeze the two strands
together and apply a layer of serving over them as show below.

Run the serving down about six inches and finish it off just
like you did before. Voila, you have a
loop.

Now do the same thing to the other end. I usually make one small loop to stay in
place on the bow, and one larger loop that will slide down onto the limb when I
unstring the bow.

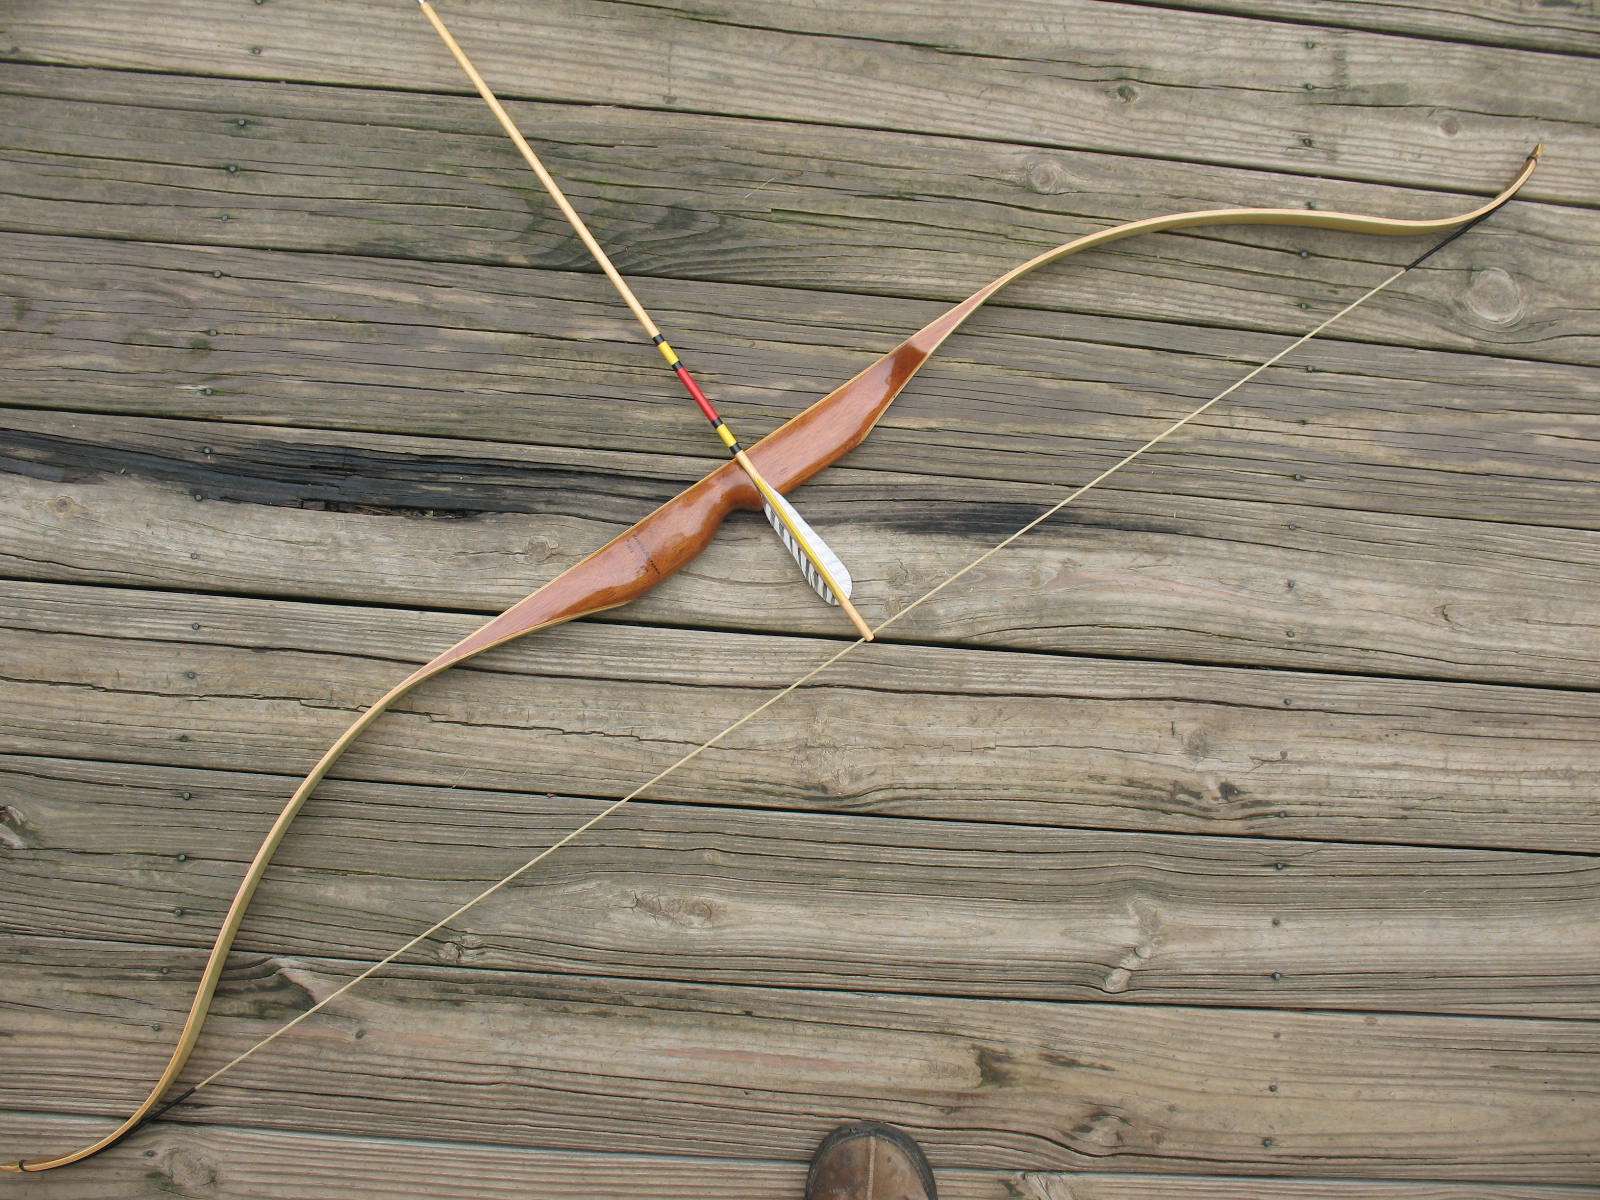
It is customary to apply serving to the string in the area
where the arrow is nocked. This helps to
prevent wear on the string. To locate
where to put this serving, just string the bow, nock an arrow, and make a mark
on the bowstring.

Apply serving to this area using the same method. I usually make my serving about four inches
long with the nocking point in the center of the serving.

If you made your string a little too long, or if it
stretches out, all you have to do is twist the string a little to shorten
it. I always make my string a little
long because it is easy to make it shorter; not so easy to make it longer. In fact, if it is too short you are going to
have to start from the beginning and make a longer string.


3 comments:
Thanks
Even though I have never tried making a bowstring; I have never thought that making one is this easy. I like how you have explained the entire process. I will recommend this post to my fellow archers. See more on how to make a bowstring here: http://wildernessmastery.com/hunting/how-to-make-a-bow-string.html
I agree, explained very well
Post a Comment