Most
vinyl tarps have grommets around the outside edges but few, if any, have loops
on the back of the tarp. A center loop
can be very helpful with tarp set-ups like the diamond fly, also called the
plow point. The center loop allows you
to attach a line in the middle of the tarp and give a little lift to take the
sag out of your ridgeline. But, my $15
Harbor Freight tarp didn’t have a center loop; so I decided to attach one
myself.
I have
added loops to canvas tarps by stitching and then re-waterproofing the affected
area, but I was concerned that this wouldn’t work on vinyl. I was afraid that it would either leak or
tear out too easily, so I thought that maybe I could glue the loops on for a
stronger and more leak-proof bond. I
found a You Tube video by a young fellow who goes by “Brave the Wilds” in which
he glued on tarp loops (check out his You Tubes at www.youtube.com/user/bravethewilds), so I followed his lead and
proceeded as follows.
To do
this project you will need the following:
Tape measure
Marking pen
Woven nylon webbing
Scissors
Ice pick and heat source
Straight pin
Sewing machine or needle and
thread\
Medium grit sand paper (one small
piece)
Rubbing alcohol
Cotton ball
Two part, five minute epoxy
Some weights
First cut a piece of nylon
webbing that is about six to six and one half inches long.

Next, heat the ice pick in a
flame and use it to gently melt the ends of the webbing. This will keep it from unraveling.

Fold the webbing in half and pin
it about an inch from the loose ends.

At this point you can sew across
the loop by hand of with a sewing machine.
My wife sewed it for me on her machine, and she went back and forth
about three times to make it good and strong.


So now you have your loop and
it’s time to prepare for gluing.
Lay your tarp out on a flat, hard
surface and set the loop down on your center mark.

Use your marking pen to outline
the area to which the loop tabs will be glued.

Use the sandpaper to very lightly
rough up the surface of the tarp and the tabs of the nylon webbing. This will help the glue adhere better.


Dampen the cotton ball with
rubbing alcohol and clean the surface of the tarp and the loop tabs. Let them dry for a few minutes.


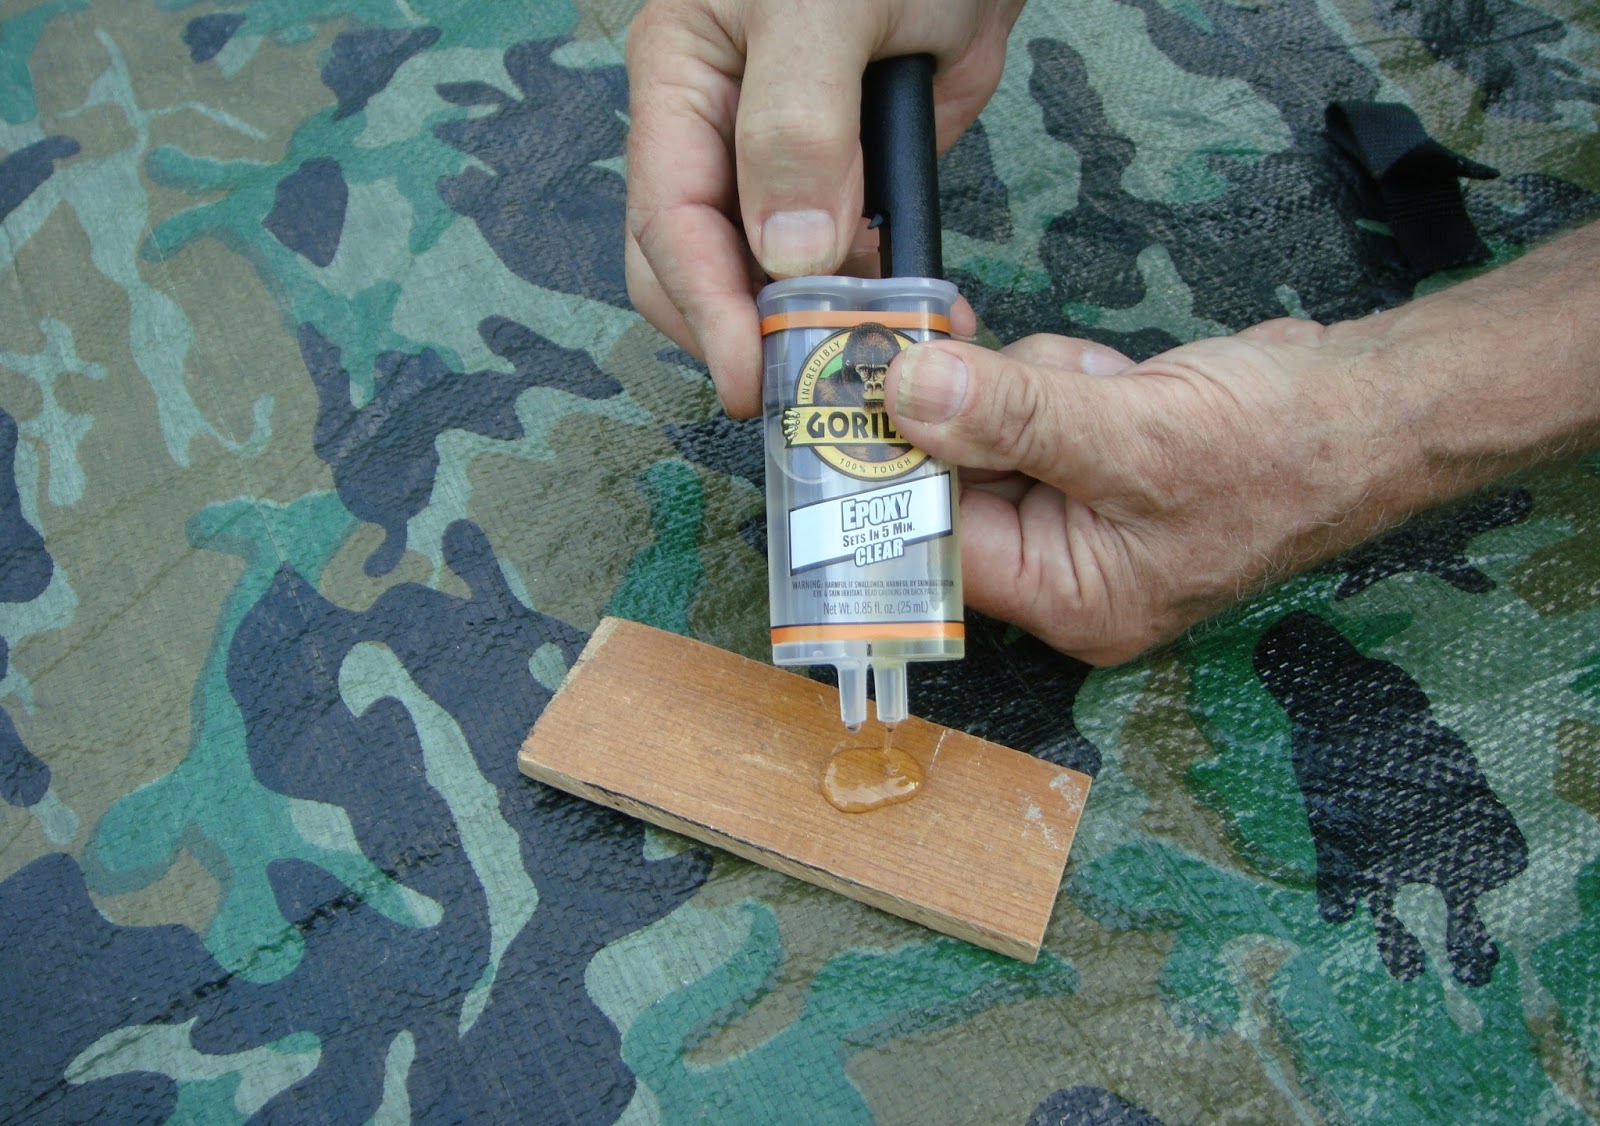
Mix the five minute epoxy
according to directions.


Apply epoxy to the tarp trying to
stay inside the outline that you have drawn.
Get a good coat of epoxy but don’t overdo it.

Apply epoxy to the loop tabs

And press the tabs into place.

Place some weights on the top of
the tabs to press them down but don’t get epoxy on the weights or you may end
up with them glued to the tarp. A couple
of small pieces of wax paper between the tabs and the weights might help
prevent accidental gluing.


Note that 5 minute epoxy sets in
5 minutes but it is not cured and strong.
You should leave the weights in place for at least over-night to make
sure that the loop is firmly attached.
When you remove the weights you
will have a nice web loop attached to your tarp.

Here are a couple of pictures of
the tarp loop in use. It seems to be
firmly in place and doing its job.


1 comment:
Great idea and instructions, Hank! Thanks for sharing the tips. I have a new project list now.
Todd
Post a Comment