Pages

Tuesday, February 24, 2015

Starting Vegetable Plants in Pots


Most beginning gardeners and many old pros buy tomato plants, pepper plants, and other vegetable plants at the nursery or feed store to set out in their gardens.  This is a real time saver and bedding plants are not super expensive, so it’s an easy way to get a garden going.  But, if you get deeply involved in gardening, and especially if you save your own heirloom seeds; you are going to eventually want to learn how to germinate your on plants in seed pots.  There are several advantages to doing this.  It is a little cheaper than buying plants (as long as you don’t factor in your labor), it enables you to start plants from seeds that you have saved, it allows you to raise varieties of plants that are not readily available at most stores, it’s good practice for post meltdown survival gardening, and it’s fun.  Following is a brief tutorial on how I start plants for my garden.  Please note that this is not the last word on starting plants.  There are many different ways to do this, one being just as good as the other.  This is just the method that happens to work for me.  To know when to start your seeds just look up the outdoor planting date in your area and start your seeds six to eight weeks before this date.  So, let’s get started.

First you will need seed.  This can be seed that you have saved or seed that you have bought.  If it is seed that you have saved it must be non-hybrid.  If you are buying the seed, it can be any kind; although I always recommend non-hybrid, heirloom seed so that you can save seed for the next growing season.

You will need pots to start the seeds in.  There are many different kinds of pots to choose from.  You can use peat pots, ceramic pots, terracotta pots, plastic pots, or little plastic multi-pot seed trays.  I have even seen people who make their own origami pots out of old newspaper.  The only thing that I would recommend about pots is that you use the smallest ones possible.  A one or two inch pot is plenty big enough and it will make your potting soil go a lot farther.


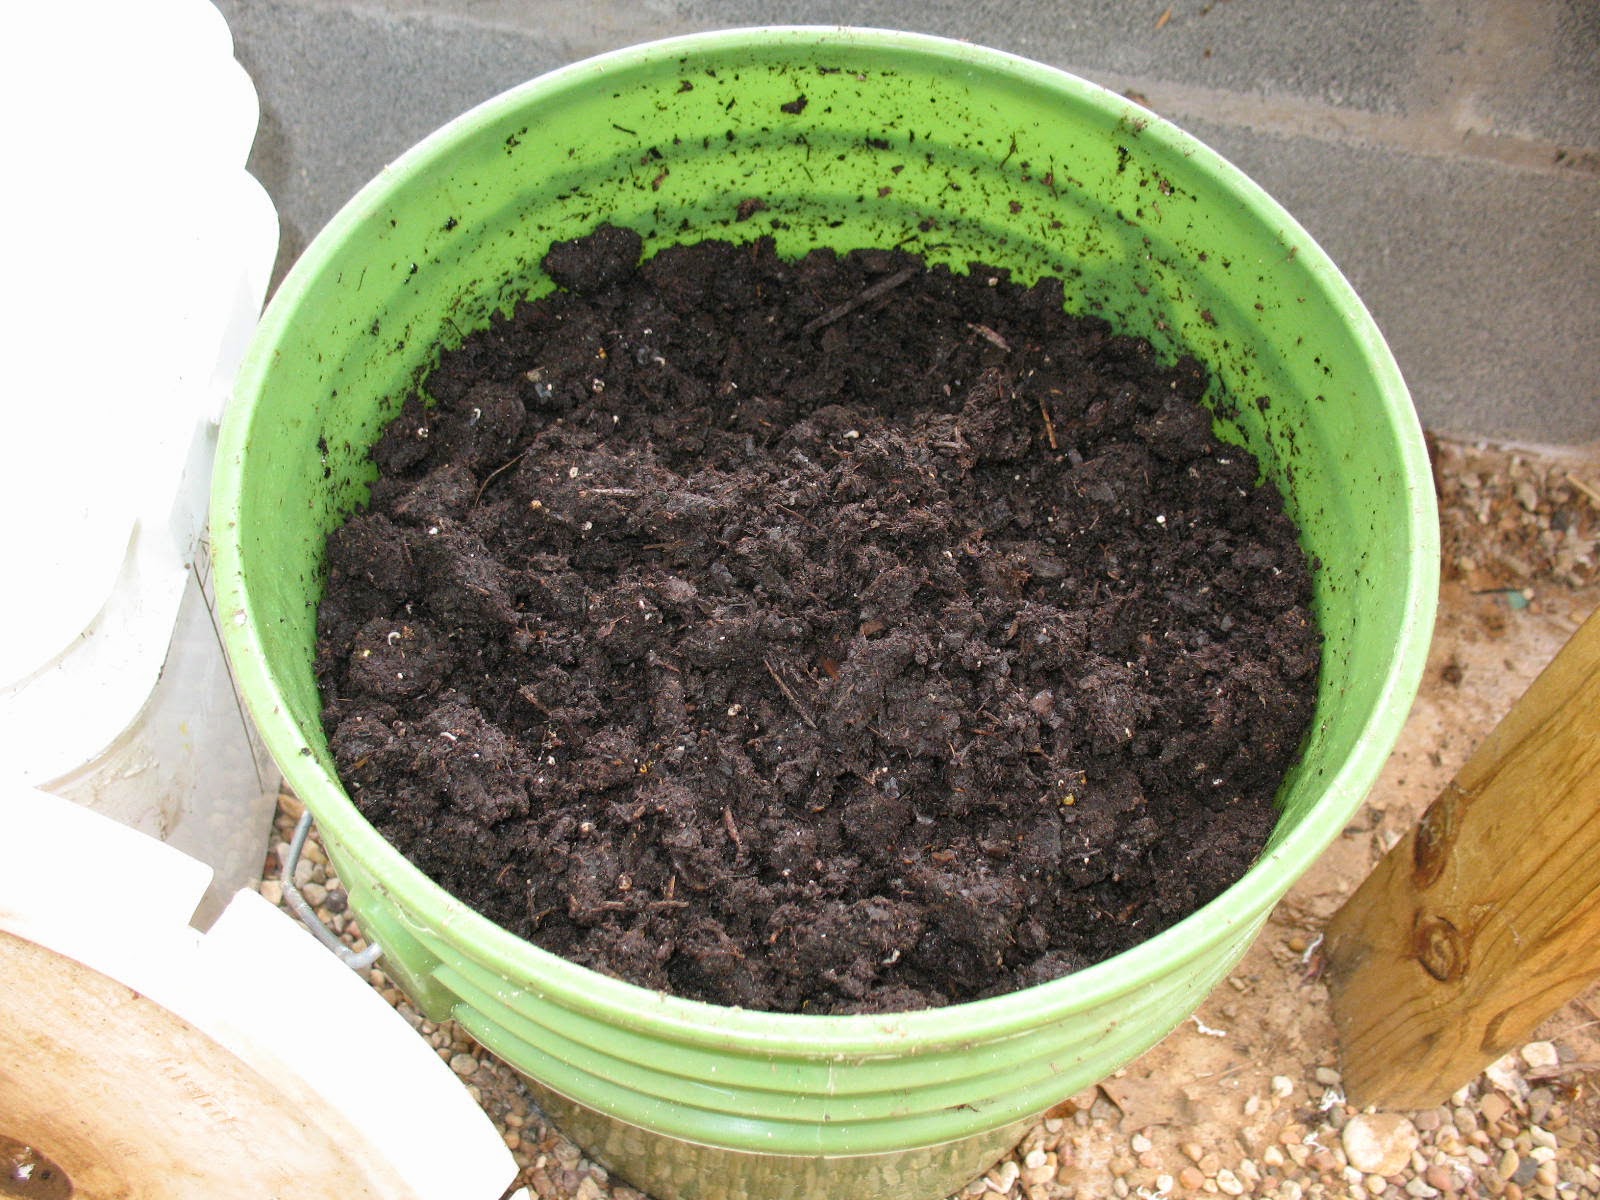
You can make your own potting soil but I usually buy mine.  A thirty pound bag of potting soil will last me three or four years and the cost is negligible, just make sure that you buy good quality potting soil.  Cheap potting soil will be full of uncomposted bark and sticks the size of firewood.  I buy Miracle Grow potting soil which is pretty fine and seems to work well.  As soon as I open a bag of potting soil, I transfer the contents to a lidded five-gallon bucket.  This keeps the potting soil from drying out and it is easier to use than digging around in a semi-torn up plastic bag.

Start preparing your pots for planting a day or two before you seed them.  Fill each pot with potting soil and press it down firmly, then top it off with some more potting soil and press that down.  

When your pots are all full, water them gently but thoroughly and allow to sit over night.  I use an old vegetable oil bottle with holes punched in the top for watering.  This tends to trickle the water onto the soil so that you don’t wash your seeds up after you’ve planted them.

The next day you can plant your seeds.  I use a short piece of ¼” dowel rod to poke the holes.  I make two or three holes, about a quarter inch deep in each pot.


 I drop one seed in each hole.

Then I carefully push the soil in on top of each seed and press the soil down gently with my finger tip.  

Here’s a friendly piece of advice: make all the holes and put seeds in all of them before you start covering any of the seeds up.  If you try and cover the seeds as you go, and if you are anything like me, you will end up double planting one pot and leaving another pot empty.  I speak from experience on this.

As soon as you have a set of pots planted, put a small marker in one of the pots to show what you planted.  I use little plastic markers that I cut from an old loose-leaf binder and write the name on it with permanent marker so that it won’t wash off when I water.  Don’t skip this step. You will forget what you have planted.  Again, I speak from experience on this.


 Now it’s time to start germinating.  I am told that the ideal temperature for seed germination is around 80 degrees F.  If the temperature is lower the seeds will still germinate, it will just take longer.  As long as you keep them from freezing at night, you will be ok.  You can set your pots outside if the day is warm, and bring them in and set them in a window if the weather is cold.  You will definitely need to bring them in at night if the weather is cold.

I have an attached greenhouse but I never heat the whole greenhouse.  Instead I use a small germinating tent inside of the greenhouse that I can heat at night with one light bulb.  The tent consists of a metal framework with four shelves and a clear plastic tent that slips over the framework.  It has a zipper front for easy access.  I bought it on Amazon for thirty-five or forty dollars. One light bulb will keep it from freezing even when the outside temperatures are in the upper twenties.  Colder than that and I bring the plants inside.

You need to check your seed pots daily and keep them moist.  Don’t drown them; just trickle a little water in to keep them from drying out.  Keep an extra close eye on peat pots as they seem to wick the water away faster than plastic pots.

Your seeds will usually sprout in about five to seven days, but don’t freak out if it takes a little longer.  After the seeds sprout you will want to give them a little plant food about once a week.  Some people mix slow release fertilizer in with their potting soil to avoid this, but I prefer to mix up a little Miracle Grow and water it in once a week.  I know, this isn’t sustainable gardening; but one tablespoon of Miracle Grow mixes with a gallon of water, and I’ve been using the same little box on Miracle Grow for about five years now, so it’s pretty close to sustainable for me.  I’m sure that there is an organic alternative to Miracle Grow if you want to go that route.

When your seedlings are about an inch tall you will need to remove the two weakest ones from the pot (this is assuming that you planted three seeds and that they all germinated). 

When the plants are six to eight weeks old they can be planted in the garden.  I usually take the seedlings out of the germinating tent and leave them in the unheated greenhouse for a couple of days to harden them off a little.  I try to plant them in the morning so that they will have the benefit of a day in the sunshine to get used to their new climate.

Thursday, February 12, 2015

Make Kale Chips for a Healthy and Delicious Snack


These days, many people are looking for healthier alternatives to some of the snack foods that we have been eating for years.  I have found kale chips to be a great substitute for the potato chips and corn chips that I used to eat with my lunch.  Kale is an amazing plant.  In my part of the world (East Texas) it will grow year round.  Kale is very low in calories, has just a tiny bit of fat, and no cholesterol.  It is loaded with vitamin A and vitamin C, and it supplies a good amount of vitamin B12, calcium, iron, and magnesium.  Kale is a little pricey at the grocery store, but if you have a little space, it is easy to grow.  It’s such an attractive plant that you could grow it in your flower beds, and even the snootiest neighbors wouldn’t complain.


To turn your kale into tasty chips is simplicity itself:

First cut and wash a bunch of kale.  Then cut the kale into chunks and place it in a bowl.

I season my kale with soy sauce and garlic.  I use a quarter cup of soy sauce and three-quarters cup of water, and mix in a teaspoon of garlic powder.


Pour this mixture into your bowl of kale, and then hand toss the kale until it is evenly coated with the mixture.

Load your dehydrator with the kale (I use a Nesco counter top dehydrator) and turn it on.  If you don’t have a dehydrator your can use your oven. Just set it very low; less than 200 degrees F. and prop the oven door open.


Keep an eye on the kale as it will dry quickly.  My dehydrator takes about an hour and a half.

When the kale is crispy-dry, turn off your dehydrator and let the kale cool.  Place it in an airtight plastic bag and start snacking.


Tuesday, January 27, 2015

Caring for Onion Sets Prior to Planting


I, like most people I know, plant my onions from sets that I buy at the feed store.  You can start onions from seed, but it’s much easier to buy the small bunches of onions that are about five or six inches tall and just stick them in the ground.  Here in East Texas we plant onion sets around mid-February.  My dad always planted onions and potatoes on Valentines Day.  The problem is that onion sets are already in at the feed store, but it won’t be time to plant them for about three weeks.  The onions will still be at the feed store three weeks from now, but they will be pretty dried out and not nearly as prime as they are now.  So, what I do is go ahead and buy my onion sets while they are good and fresh; and then I heel them in until it is time to plant.

“Heeling in” is a temporary planting so that the plants will be able to draw nutrients and moisture from the soil while they await a final planting location.  The heeling in process is very simple and only takes a few minutes.  All you have to do is go out to your garden and dig a shallow hole.  For onions I dig down about two inches.

Then you place the still bundled onions all together in the hole.  Just stick the bulb portion underground and leave the greens sticking up.

Drop dirt around and in between the bundles and firm it down gently.

Water lightly, and you are all heeled in.

“Well Hank,” you say, “If you’re going to do that why don’t you just go ahead and plant the onions?”  Good question; and I have a good answer.  You see, I don’t want my onions to be caught by a hard freeze.  Onions are pretty frost tolerant, but if they catch a hard freeze the tops may die back.  The bulb will sprout again but you’ll end up with that little dead ring in the middle from the killed top; and that dead ring can be the beginning of a rotten onion if you are trying to store them for a few months.

Now I know that those people going through a blizzard up in Boston may have trouble believing it, but winter is almost over here in East Texas.  We might get a hard freeze in the next three weeks, but by mid-February the wild plum trees, what we call hog plums, will be blooming.  After that time we generally don’t get a hard freeze, and by the second week of March we’ve usually had our last frost.  So all I have to do is get my onion sets through about three weeks and then I can plant them.  By heeling them in all together in one location, I can throw a little pine straw on top of them and cover them with a five gallon bucket if we do have a freeze.  This is the method I use to cover my outdoor faucets during a freeze, and they have weathered temperatures in the teens with no problem.  The freezing temperatures rarely last more than a day or two, and the ambient heat from the ground, along with the heat produced by the decaying pine needles, will keep my onion sets (and faucets) from freezing.

On Valentine’s Day I’ll pull my nice fresh, healthy onion sets; separate the bundles, and give them a semi-permanent home in my garden.

Sunday, January 18, 2015

For Want of a Nail the Kingdom was Lost


I was straightening up my shop the other day when it occurred that I had made a major omission in my long-term survival preparations.  I had never given much thought to nails, screws and other fasteners.  Anyone who lives in the country probably has a pretty good collection of fasteners. It’s really kind of a necessity.  


On a farm, things are always getting built or repaired, and nothing is more frustrating than to be in the middle of a project and to have to stop and drive 10 miles to town to buy 89 cents worth of screws.  So it’s natural for country people to keep a collection of odds and ends that they may need.  On my farm, nothing ever gets thrown away without first removing the screws or nuts and bolts and putting them in a jar.  I know that this can save me time and gasoline in the future. But think about a world where there’s no hardware store to drive to.  Think about having to build a shed or make a repair on your house without any nails.  It can be done, but boy is it a lot of work.

In the 1700’s and on up into the 1800,s the most expensive items used in building the average home were window glass and nails.  Nails were handmade by a blacksmith and when you pulled one out of a board, you sure didn’t throw it away.  You straightened it out and put it is a can or a jar for later use.  Today, we’ve all gotten spoiled by the cheap prices of manufactured items like nails.  We don’t think about the amount of work that goes into producing nails if they have to be made by hand.  So, do yourself a favor and lay in twenty pounds of nails in various sizes.  They don’t cost much now, but they could be worth their weight in silver if things go bad.